How to install on a Windows 11 without TPM 2.0: Installation Guide
Installing Windows 11 without TPM 2.0 (or fTPM) is not possible, at least if you trust the official Microsoft system requirements. However, enthusiasts in the field of computer technology still found ways to get around this limitation, which is good news. In today’s article, we will show you how to install Windows 11 on your computer without even having a TPM chip.
Windows 11 installation guide without TPM
1. Creating a new DWORD value in the system registry
- Press WIN+R to bring up the “Run” dialog box;
- paste a blank line in regedit and press ENTER;
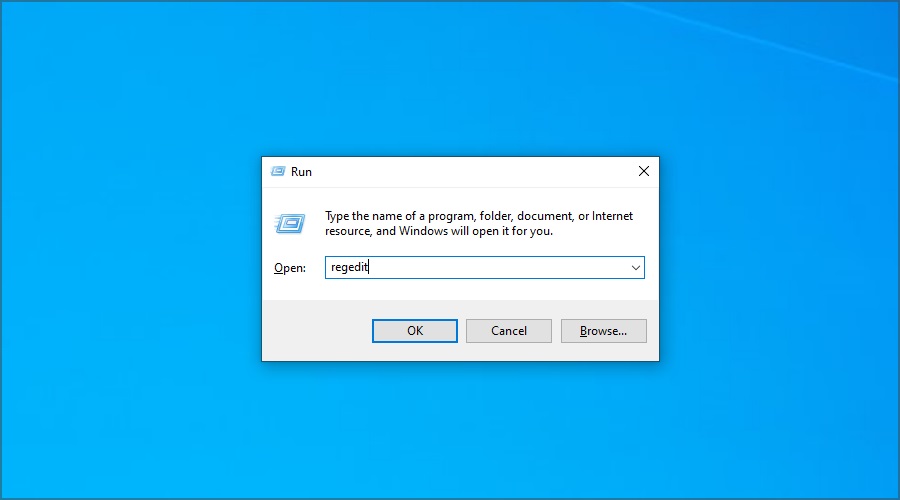
- in the system registry, go to the following branch:
\HKEY_LOCAL_MACHINE\SYSTEM\Setup\MoSetup
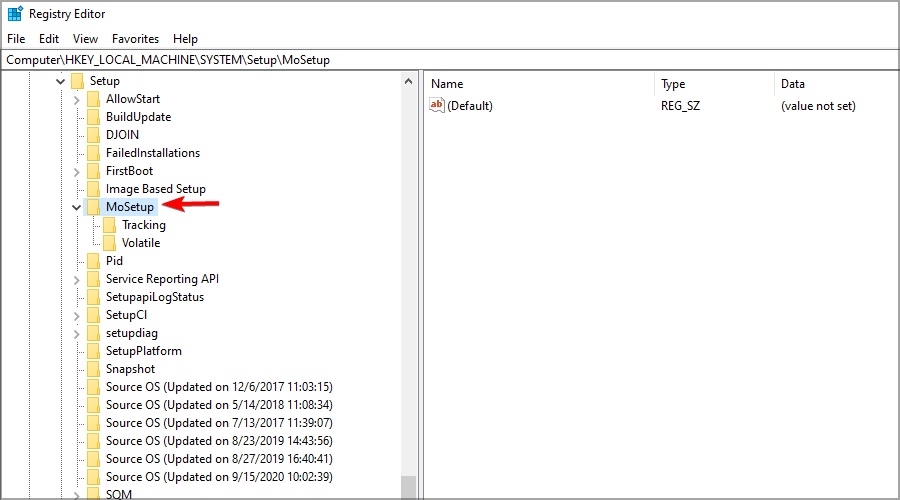
- right-click on an empty space and select “Create → DWORD (32-bit) Value” (or QWORD (64-bit) if you have a 64-bit OS);
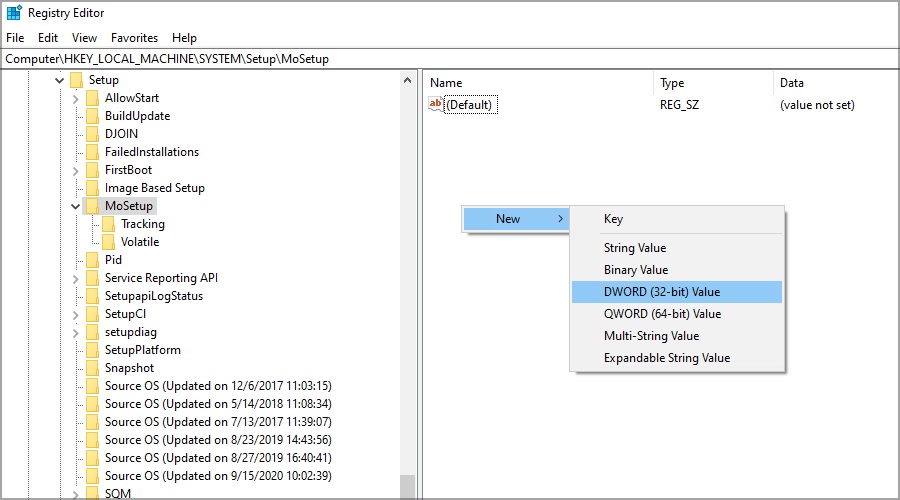
- name the new parameter AllowUpgradesWithUnsupportedTPMOrCPU ;
- double click on the parameter to open its properties and set its value to 1 ;
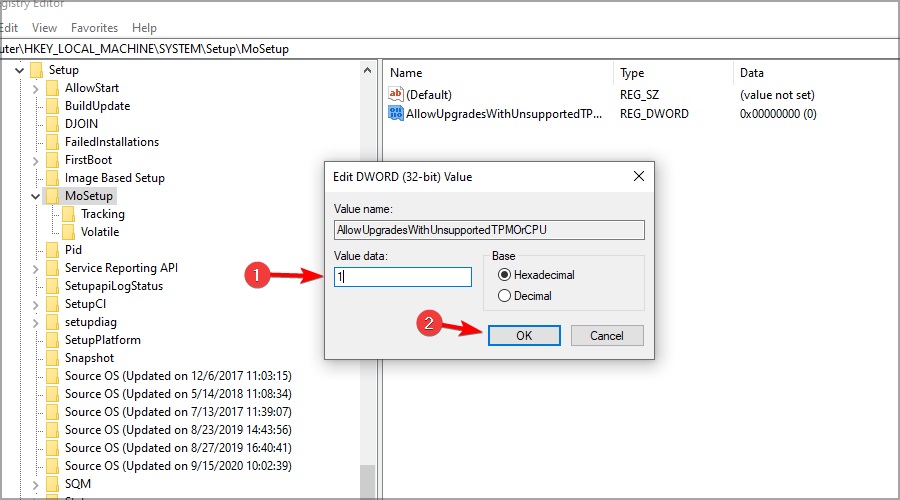
- save the changes, close the Windows Registry Editor and restart your PC.
Note: Oddly enough, this method is officially approved by Microsoft.
2. Modifying the Registry via Windows 11 Installation Media
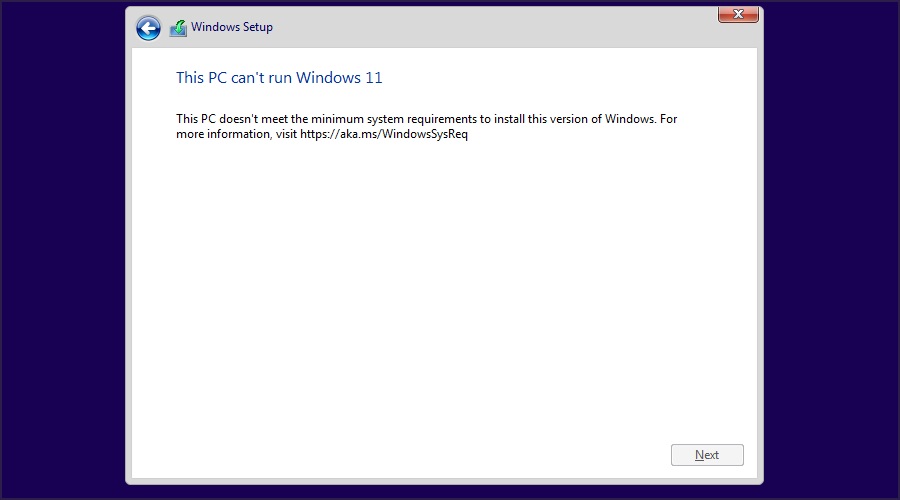
- Start installing Windows 11 and get to the point where you will see messages that your PC does not meet the system requirements of the OS;
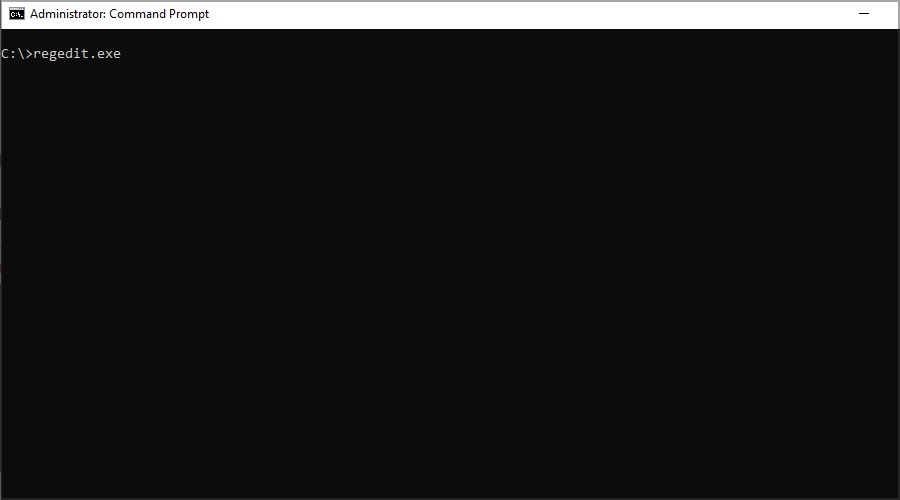
- press the key combination SHIFT + F10 to launch the command line;
- write the regedit.exe command in the console and press ENTER;
- follow the next thread:
HKEY_LOCAL_MACHINE\SYSTEM\Setup
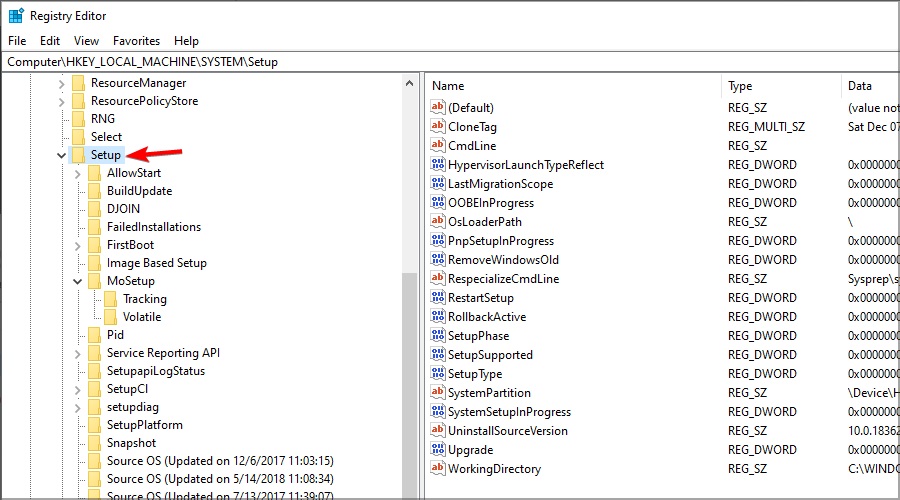
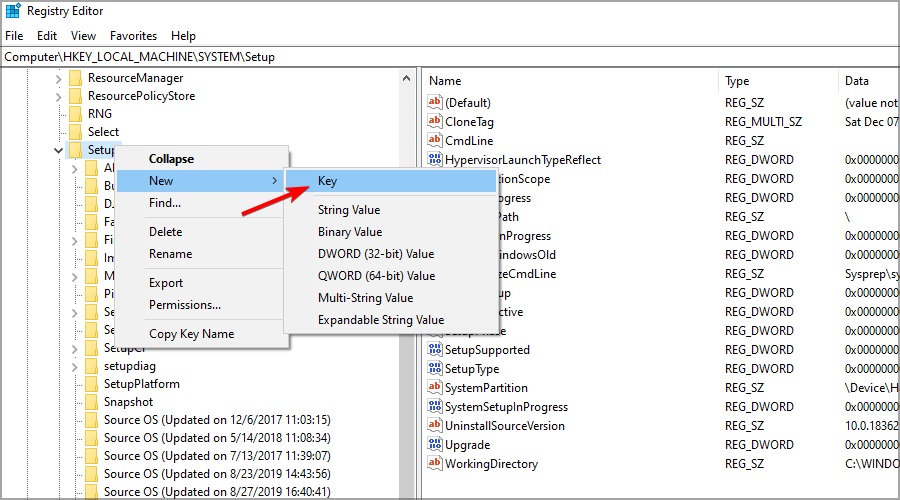
- right-click on the Setup section and select “Create → Section”;
- name the new section LabConfig ;
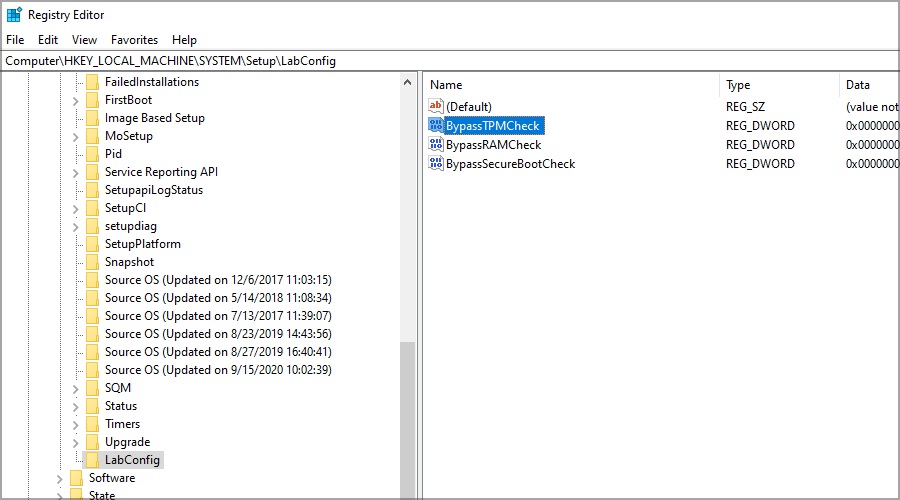
- select the partition you just created and create the following three DWORD (32-bit) (or 64-bit) parameters in it:

-
- BypassTPMCheck
- BypassRAMCheck
- BypassSecureBootCheck
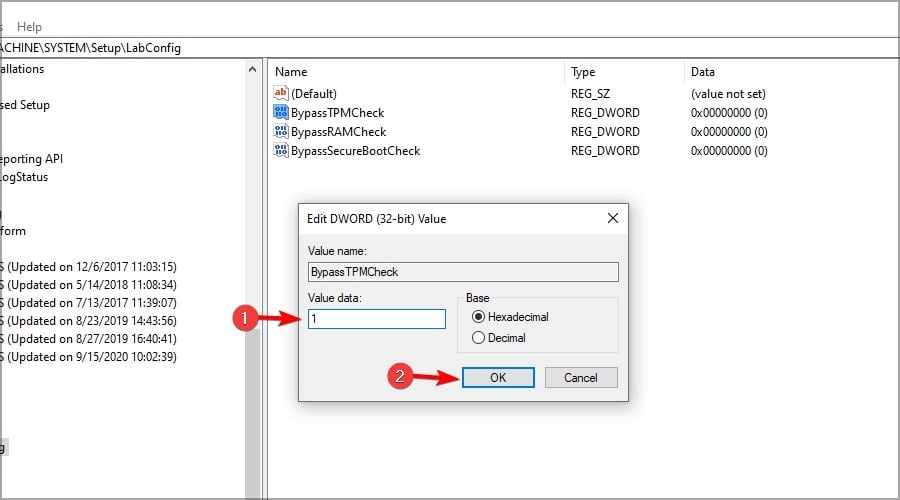
- set each of the three parameters to 1 ;
- save the changes in the registry and close the editor;
- Continue installing Windows 11.
3. Modifying the image of the installed Windows 11
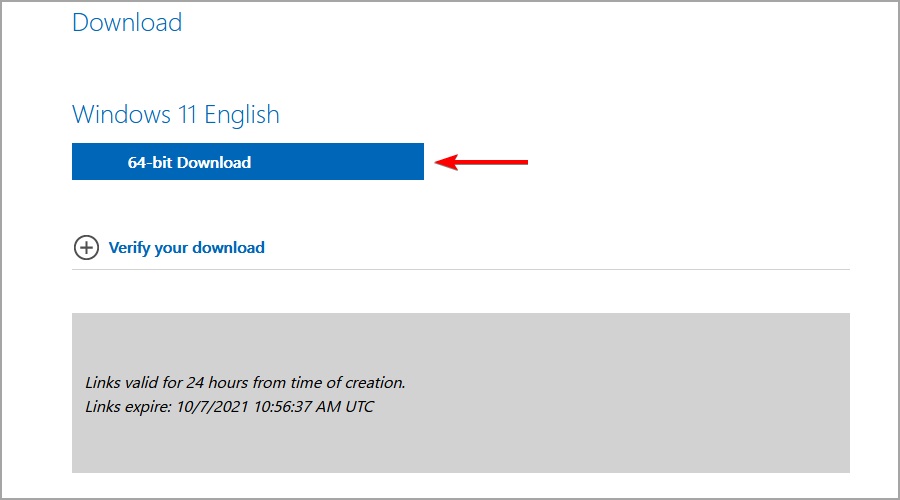
- Download the image (ISO file) of Windows 11 from the official Microsoft website;
- right-click on the downloaded file and select “Connect”;

- open the mounted image in the system explorer (devices and drives);
- go to the sources folder and find the install.wim file ;
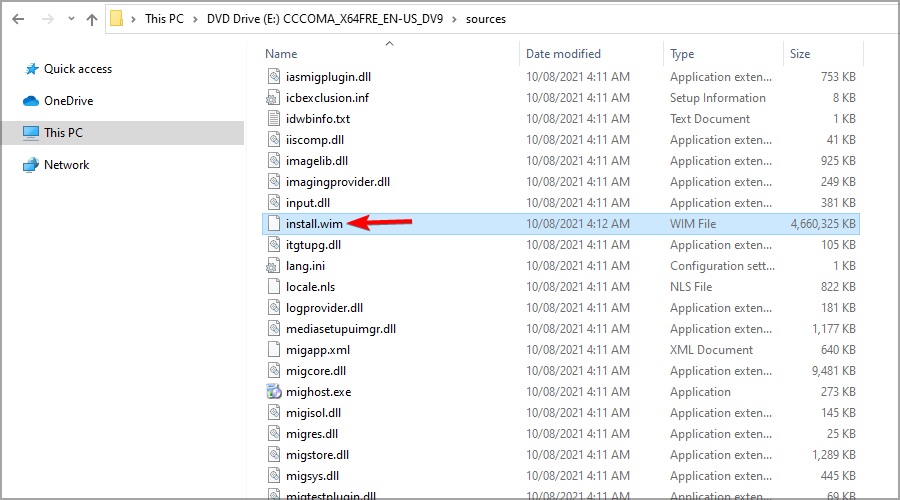
- copy the install.wim file to the Desktop;
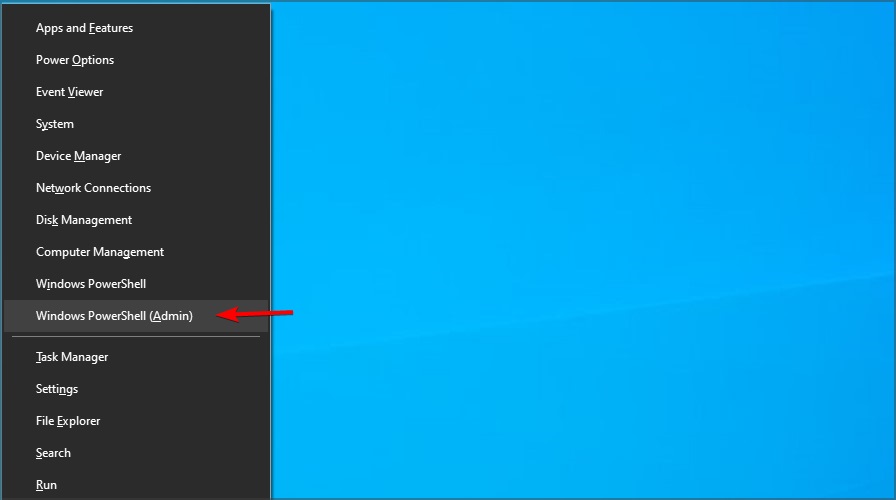
- press the combination WIN + X and select “Windows PowerShell (administrator)”;
- run the following command in the console:
dism /Get-WimInfo /WimFile:C:\Users\[REPLACE WITH USER NAME]\install.wim
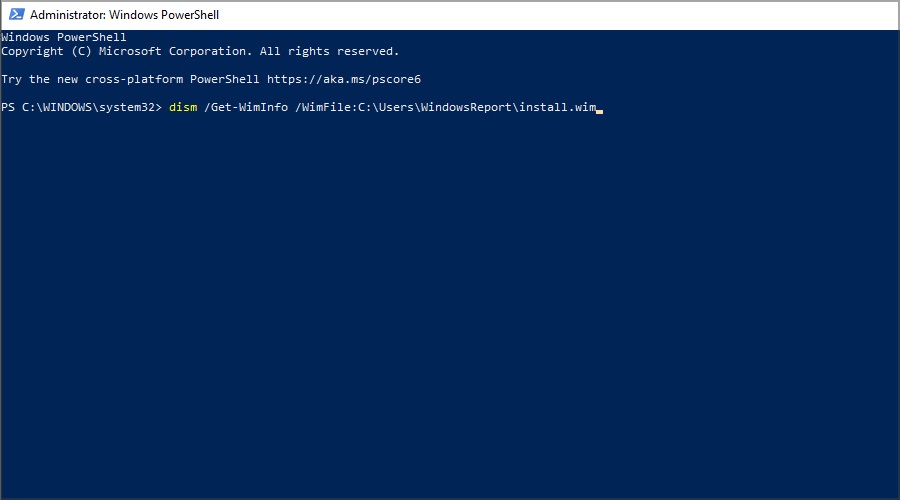
- remember the index of the Windows 11 version you want to install (in this example, we use 7, but this value may differ for you);
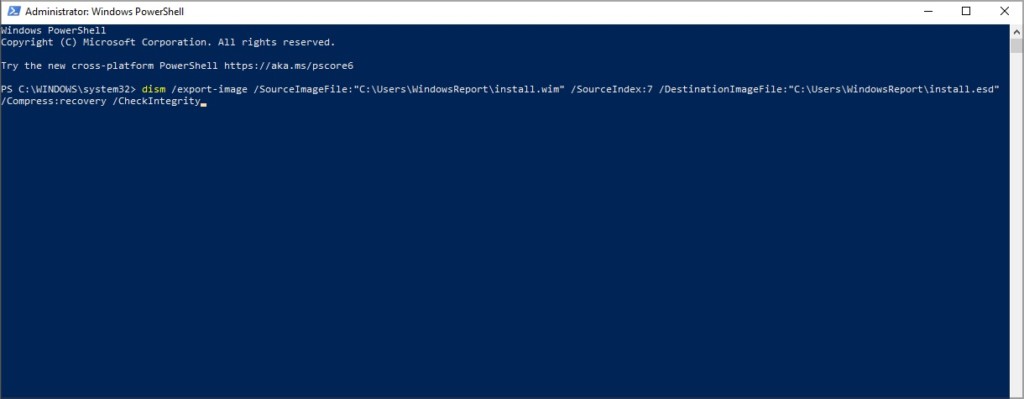
- in a still open PowerShell, run the following command:
dism /export-image /SourceImageFile:”C:\Users\[REPLACE WITH USER NAME]\install.wim” /SourceIndex:7 /DestinationImageFile:”C:\Users\[REPLACE WITH USER NAME]\install.esd” / Compress:recovery /CheckIntegrity
- wait for the process to finish and unmount the Windows 11 image;
- download the Windows 10 ISO file from the Microsoft website;
- mount the Windows 10 image and copy the contents of the image to your PC to the Windows 11 ISO folder ;
- find the install.wim file you created in the previous steps;
- open the Windows 11 ISO folder , go to the sources folder and paste the install.wim file there ;
- agree to overwrite files when prompted to do so;
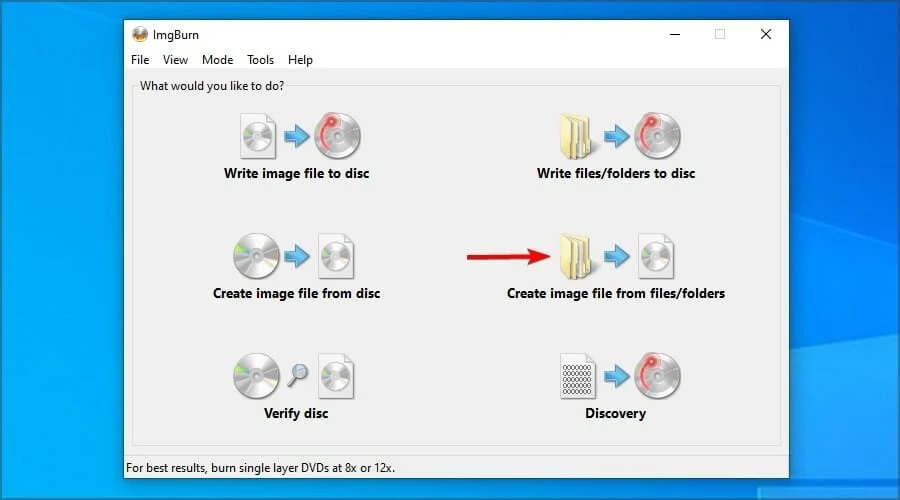
- download and install the ImgBurn program;
- start ImgBurn and click on “Create image file from files/folders”;
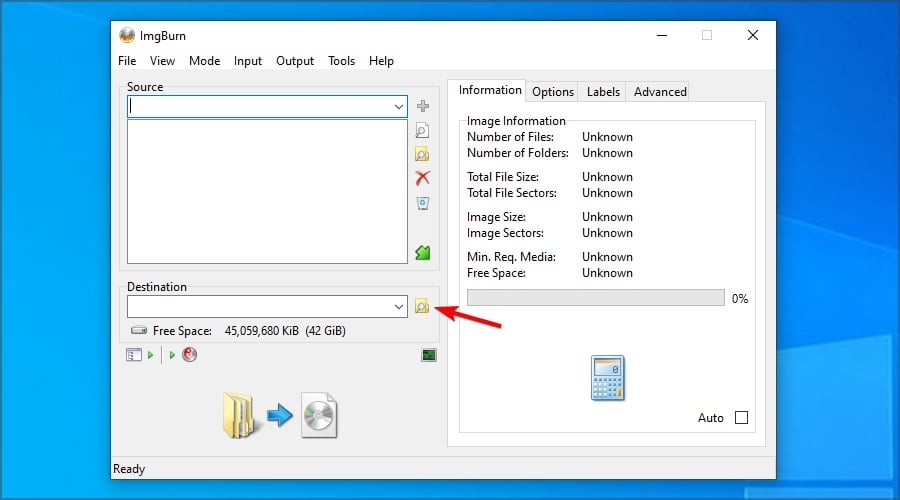
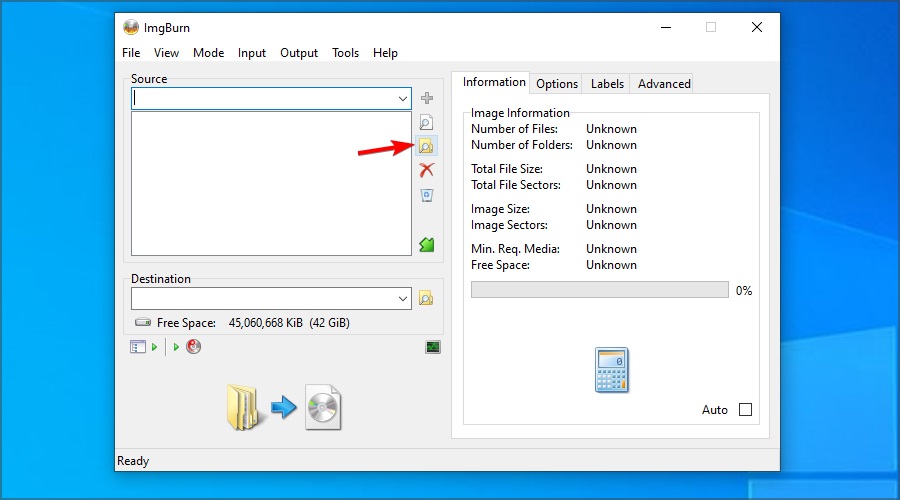
- in the Source line, specify the previously created Windows 11 ISO folder , and in Destination – any location convenient for you;
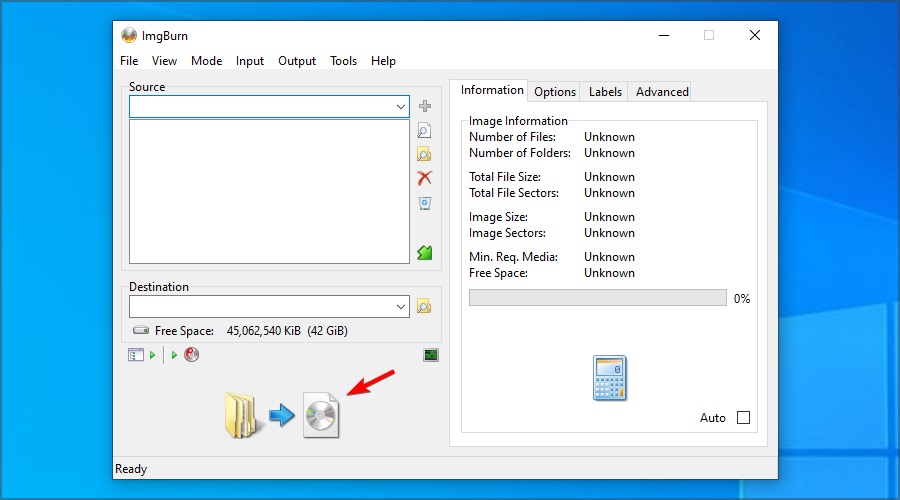
- after selecting everything you need, click on the icon in the form of a folder, an arrow and a disk (Build) ;
- click “Yes” in the confirmation box;
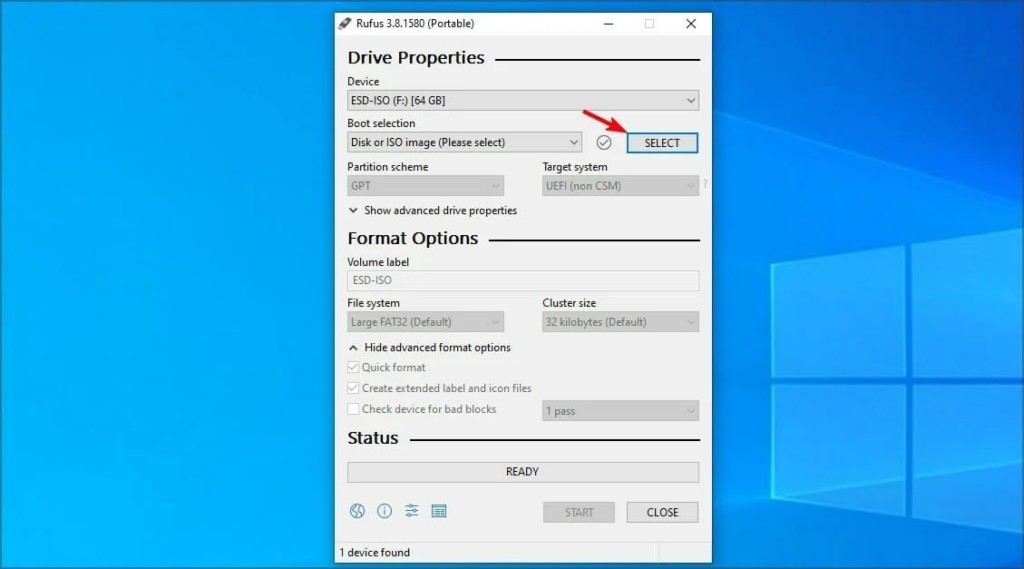
- while you wait for the image to be built, you can download and install the Rufus program ;
- launch Rufus and select the flash drive connected to the computer;
- click on the “CHOOSE” button and select the Windows 11 image you just created;
- click on the “START” button and wait until the Windows 11 image is written to the flash drive;
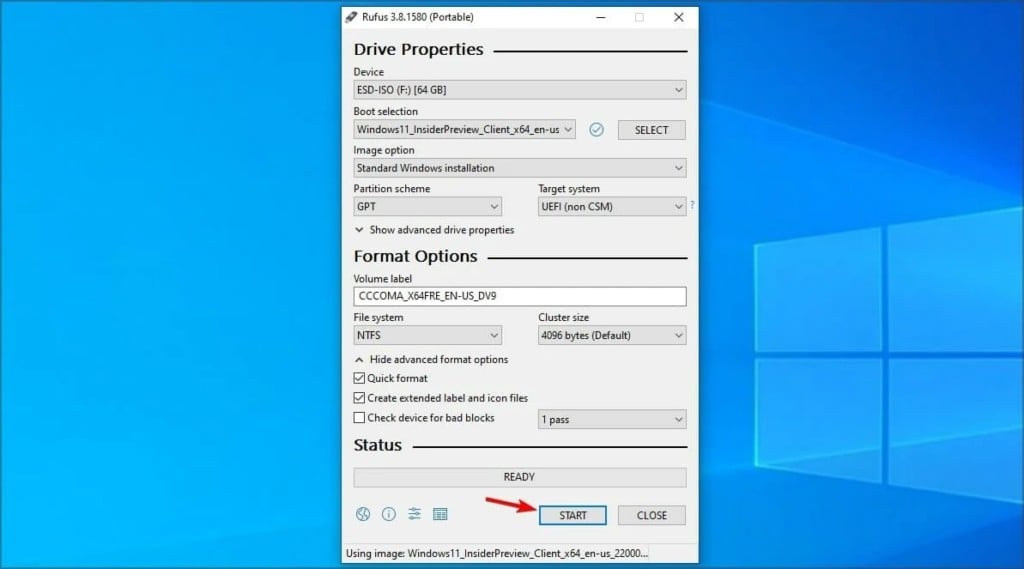
- when the burning process is completed, you will have in your hands the installation media with Windows 11, which is installed without a TPM chip.
If for some reason you were unable to create your own Windows 11 installer without TPM, copy the appraiserres.dll file from the Windows 10 image and place it in the Windows 11 image. After that, the installation process should proceed normally.