How to insert a text box in Google Docs
How to insert a text box in Google Docs: Google Docs or Google Documents is integrated into our Gmail account as a free alternative for writing documents with functions and tools similar to those of other word processors, everything that is created or edited will be kept in the cloud offering access from anywhere in the world just by starting our session, Google Docs has also gained strength to be the ideal online word processor giving the user the options to create and format documents as well as having the possibility of working with other people as a team.
Features of Google Docs
- Built-in templates
- Allow us to join a Google Meet video meeting
- Allows to add summaries to the content
- It is possible to make use of a format without pages and without page breaks
- Allows you to add text watermarks to the background of the document
With these and many more functions it is possible that there are certain actions that we want to carry out in the document and one of them is to insert a text box which will help to better express ideas as well as link points between the content of the document, it is possible to add boxes of text in two ways which Solvetic will explain to you in this tutorial.
How to insert a text box in Google Docs Method # 1
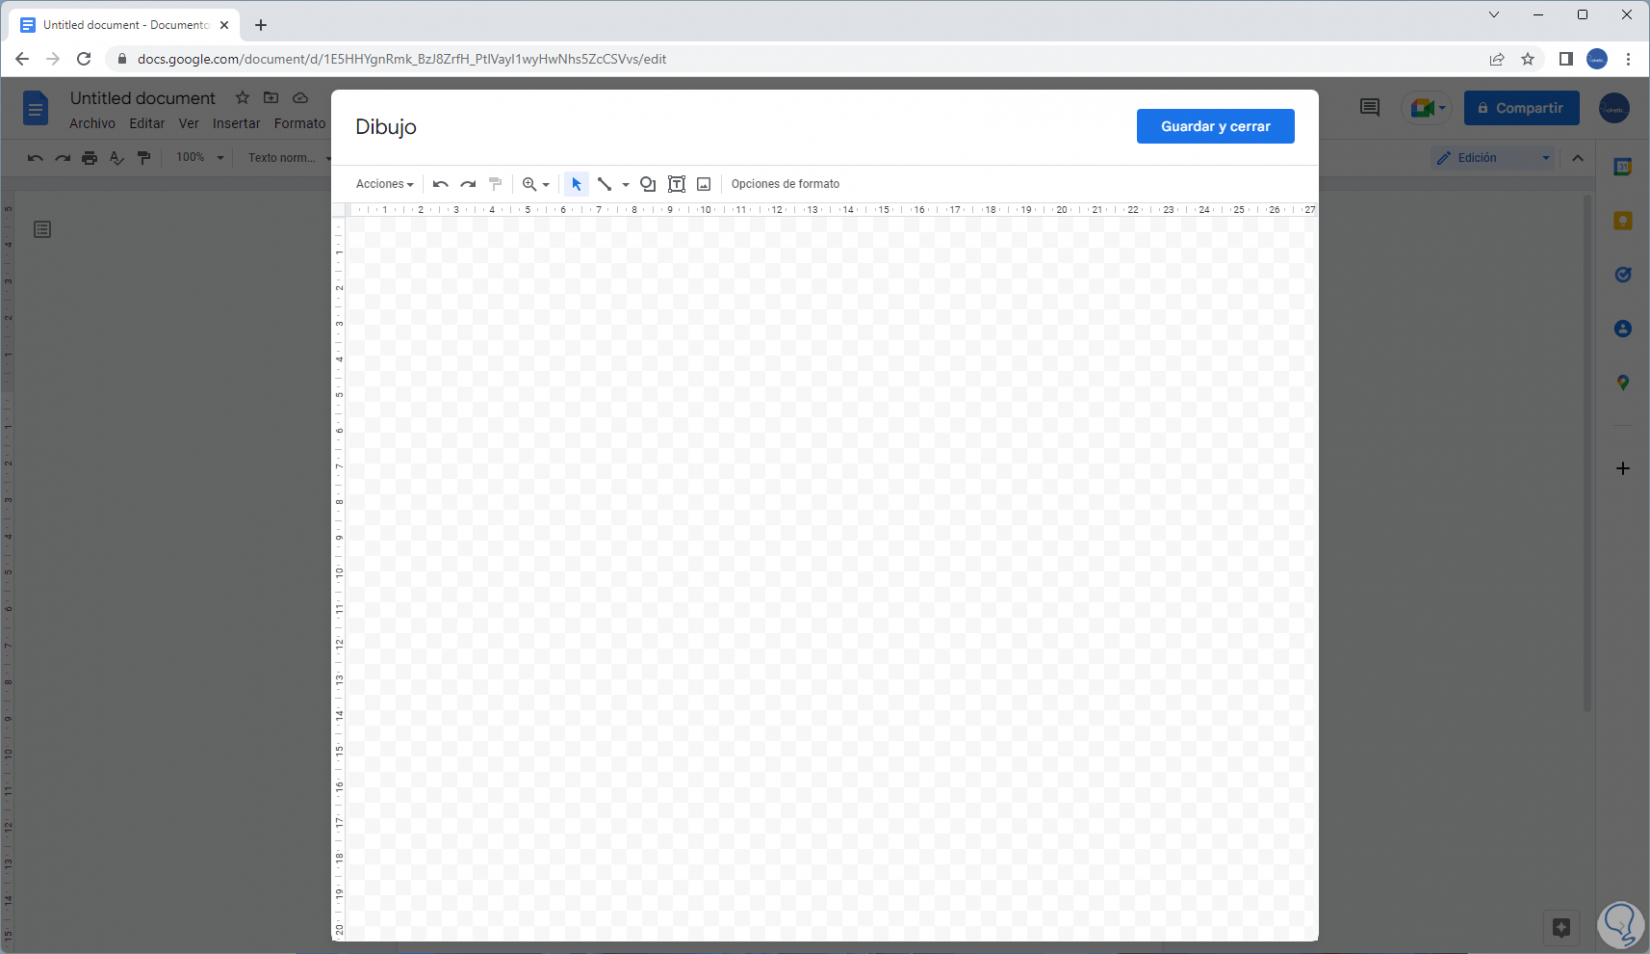
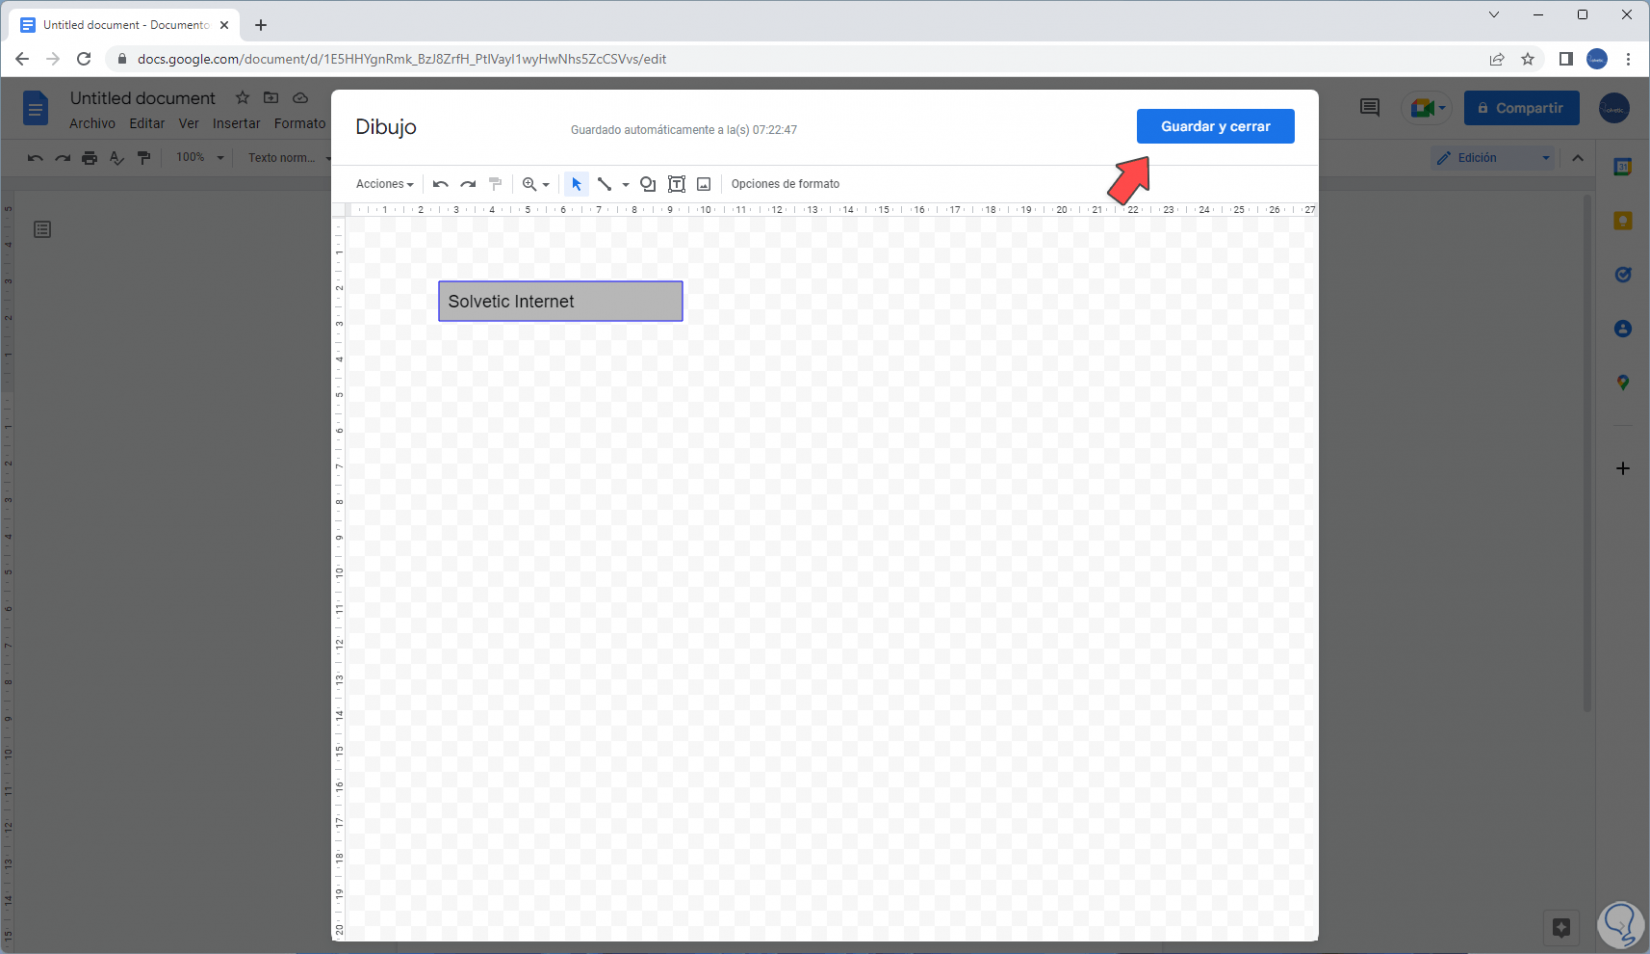
This is one of the simple ways to carry out this process since the drawing function adds multiple options to edit our documents, to use this method we open Google Docs at the following link:
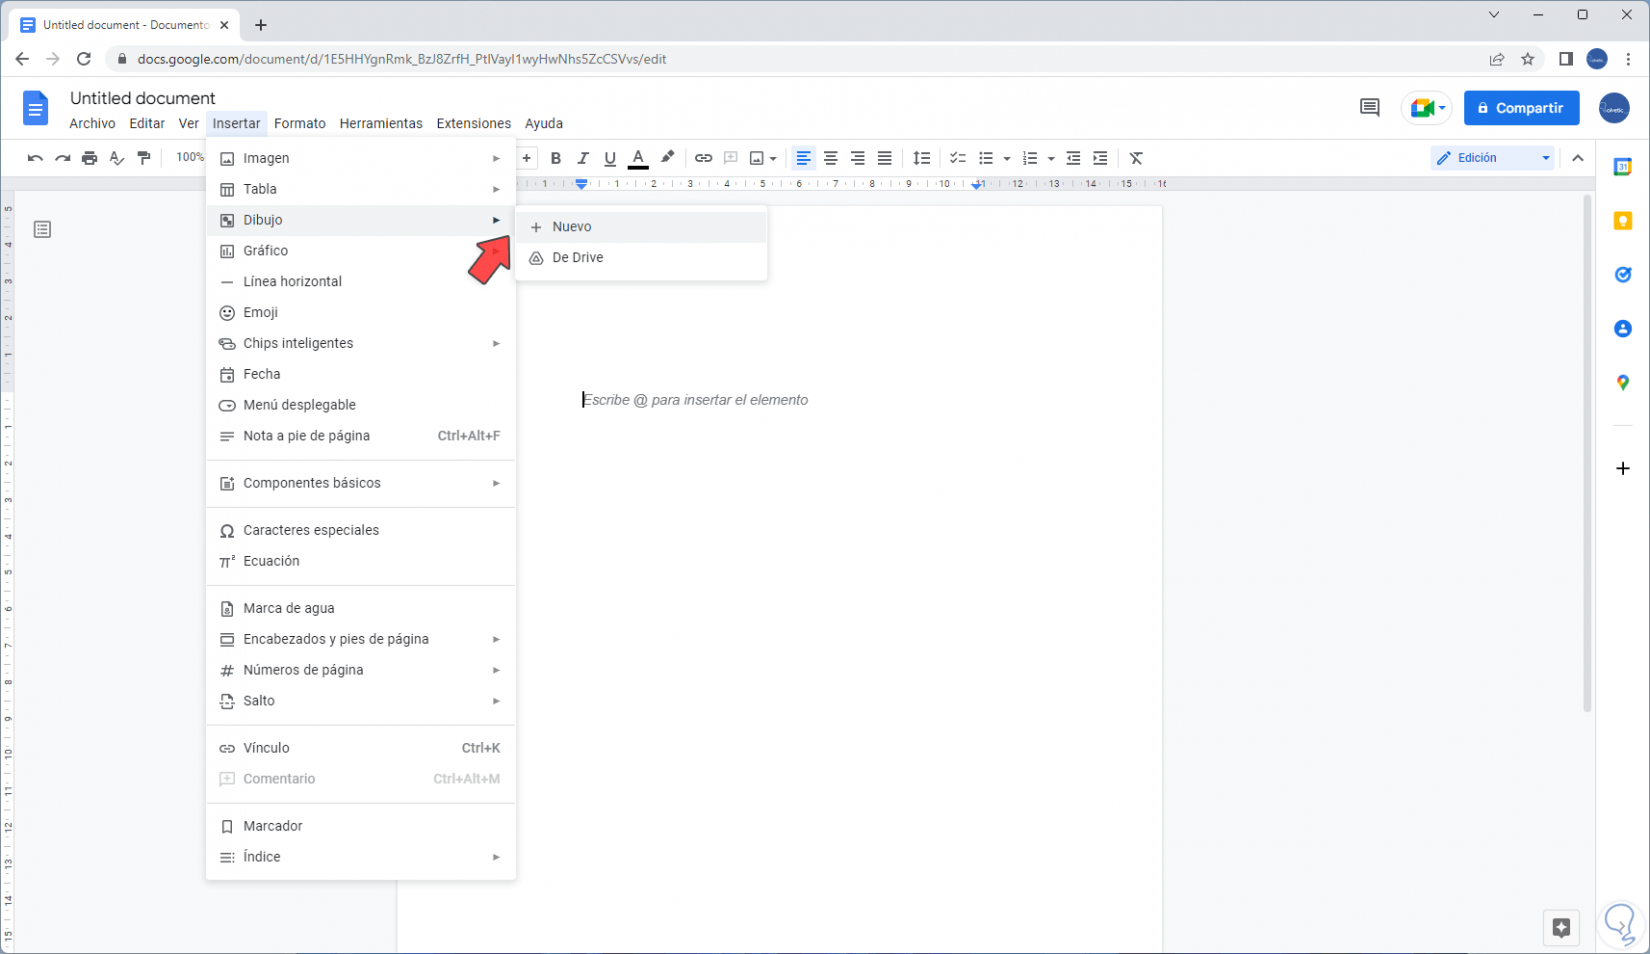
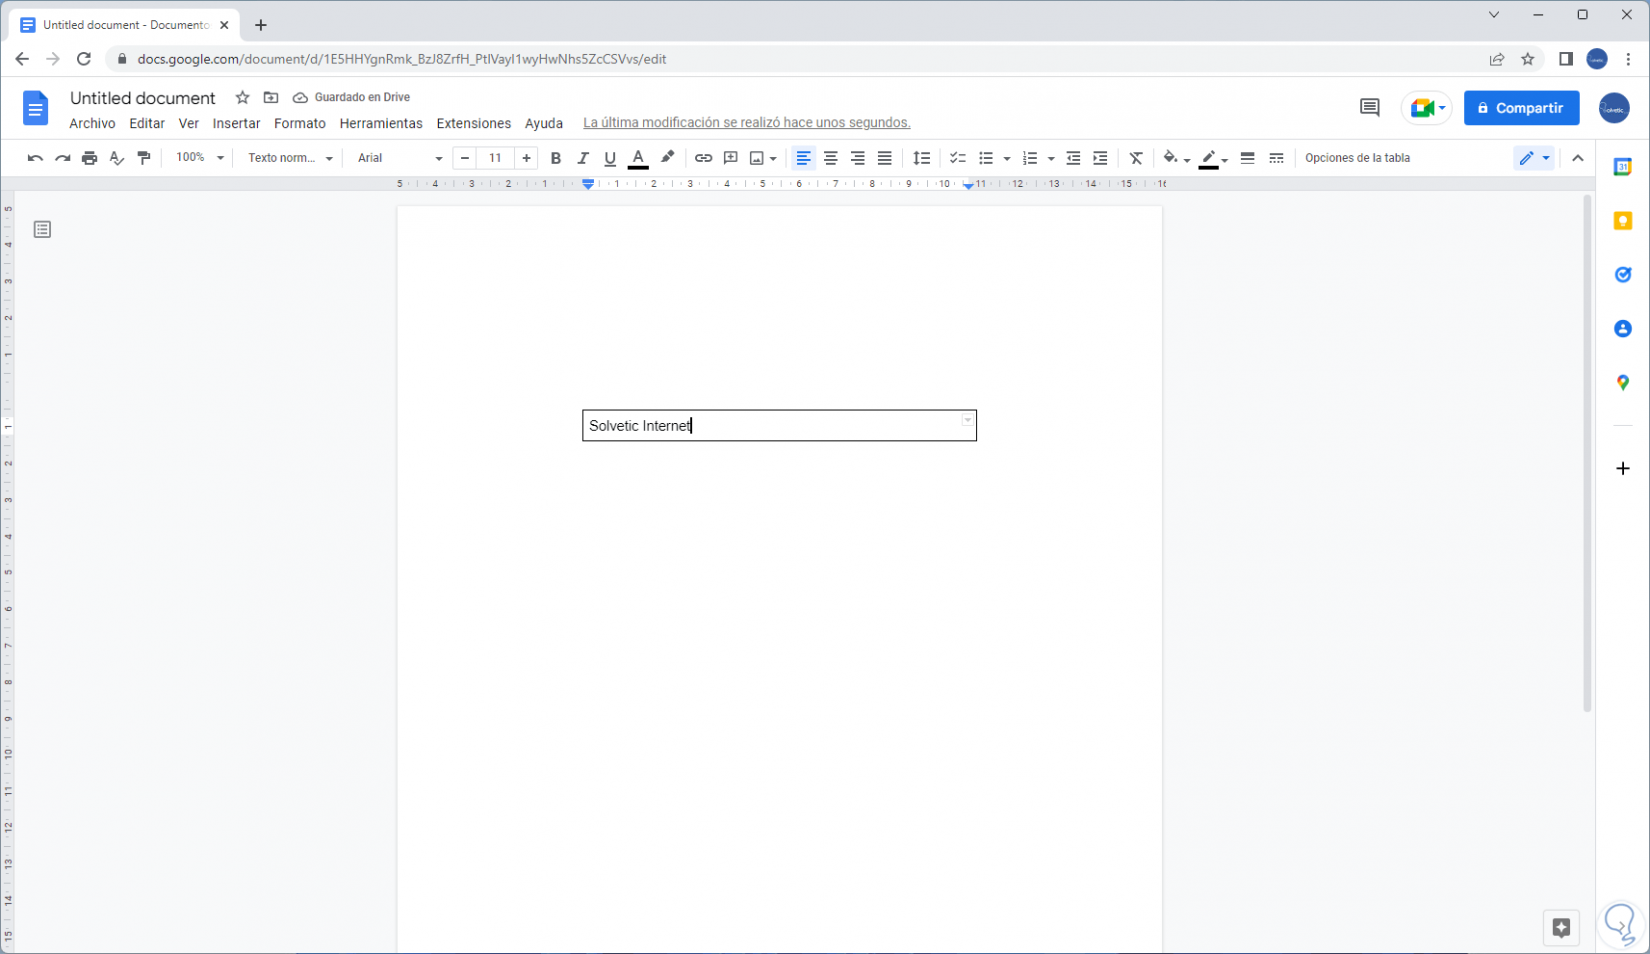
We click on the “Text Box” icon located at the top, then we adjust the dimension of the text box and enter the desired text:
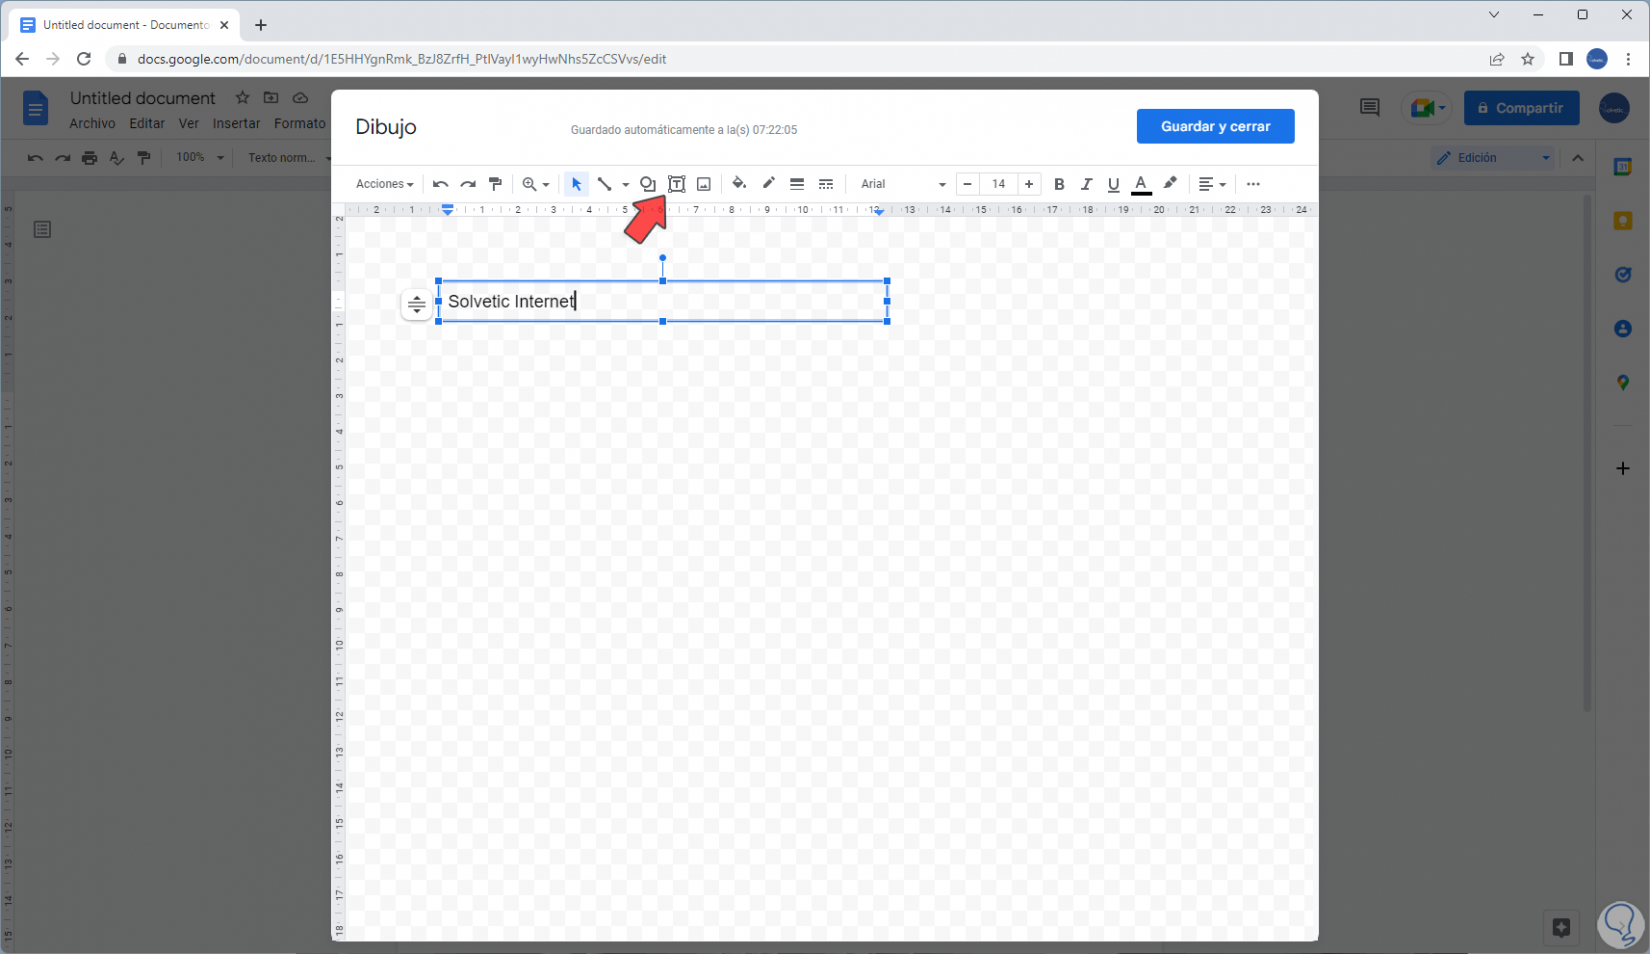
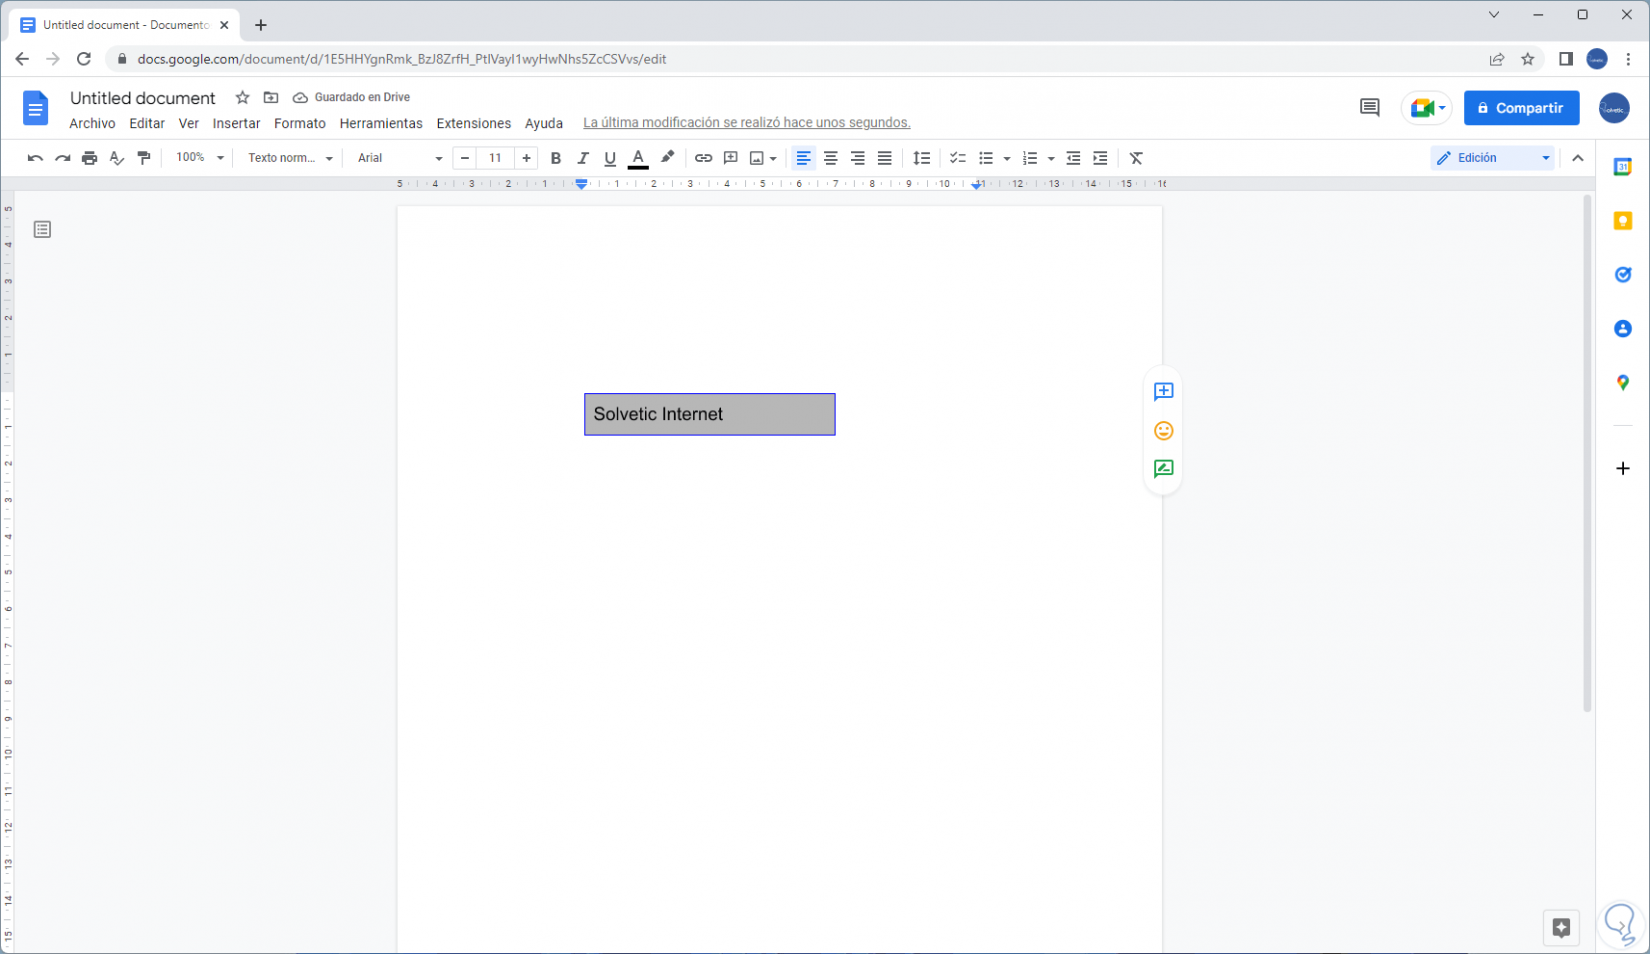
We configure the text with the available tools such as:
- Font size and style
- Text box padding
- text color
- Highlight color, etc.
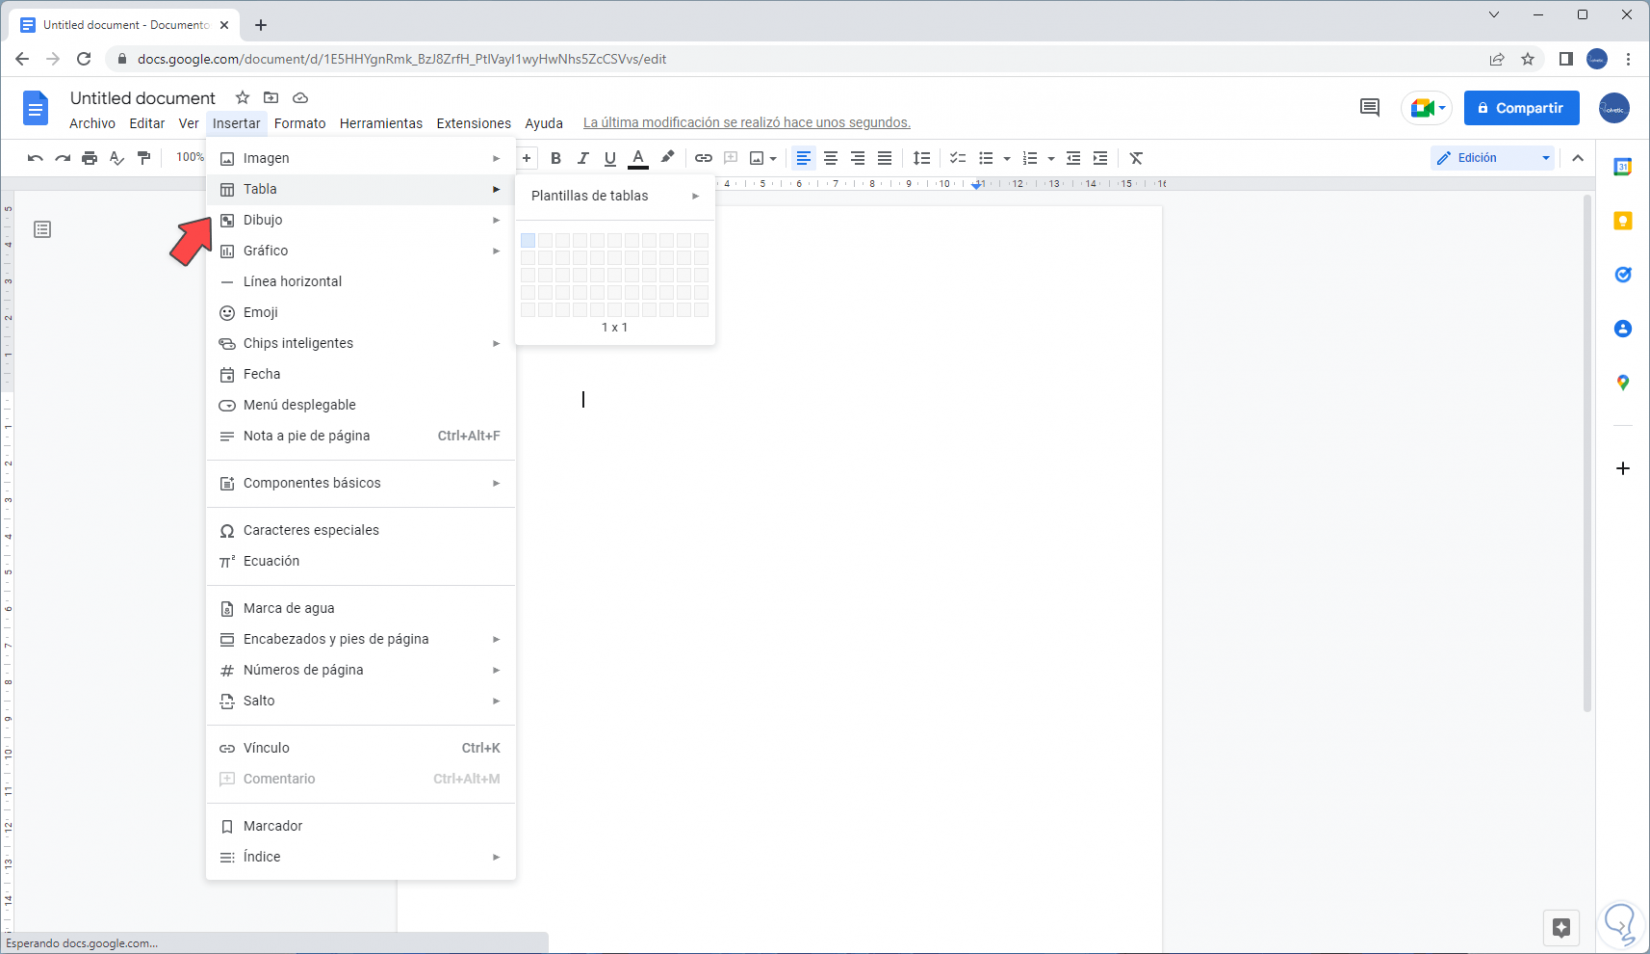
How to insert a text box in Google Docs Method # 2
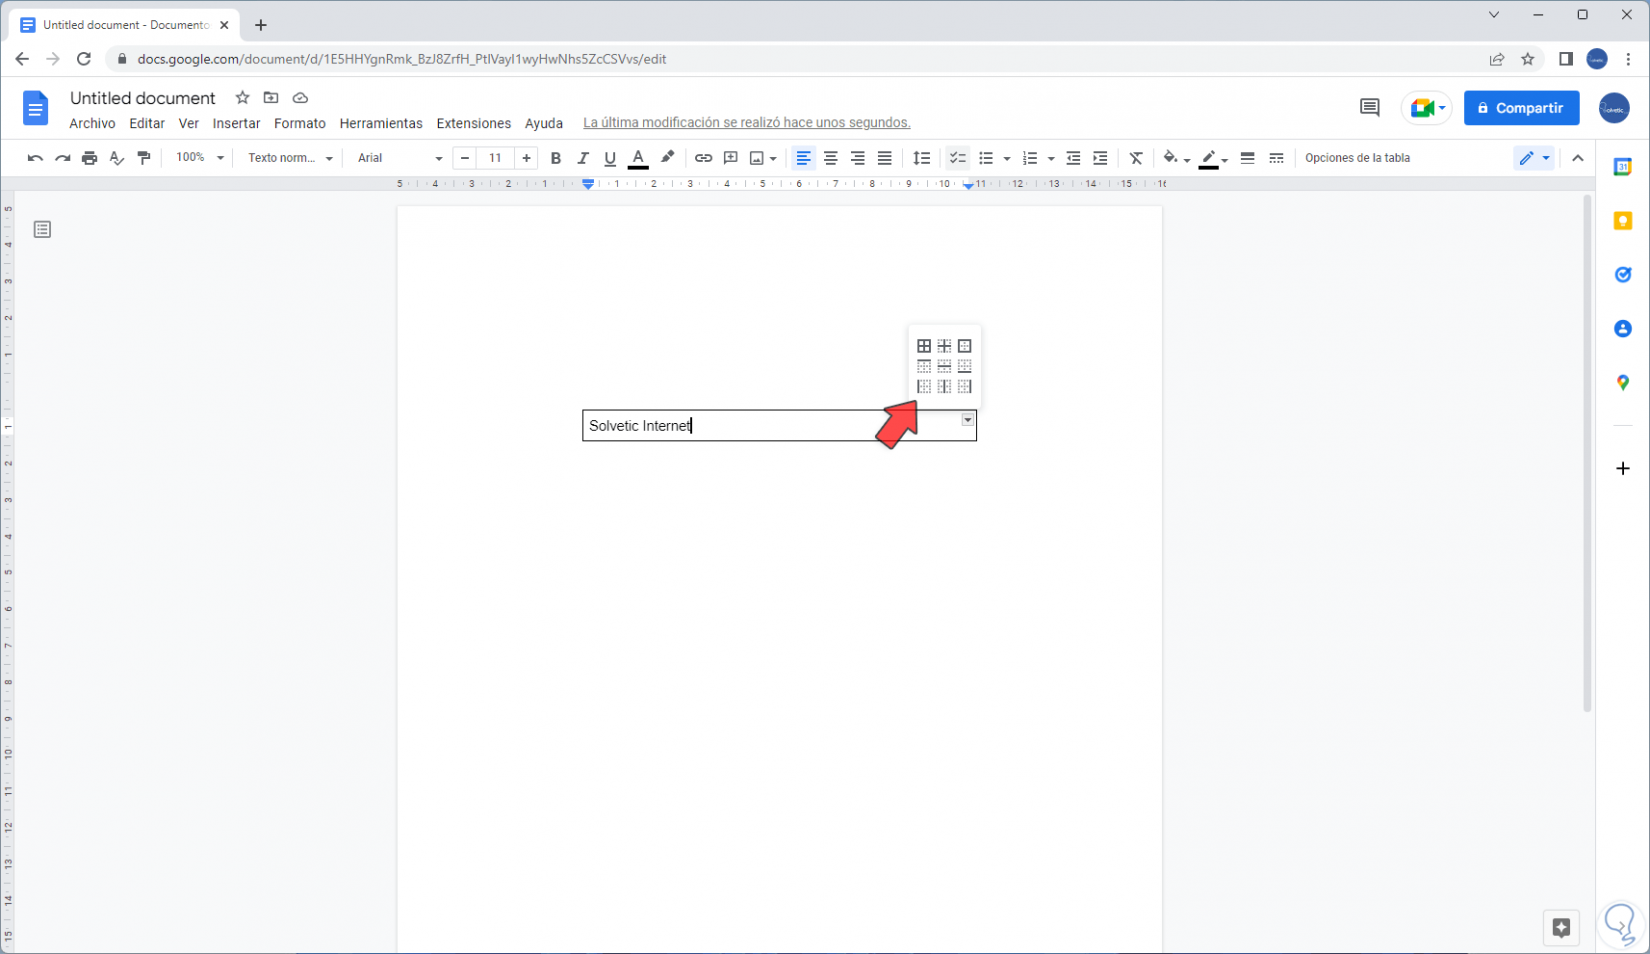
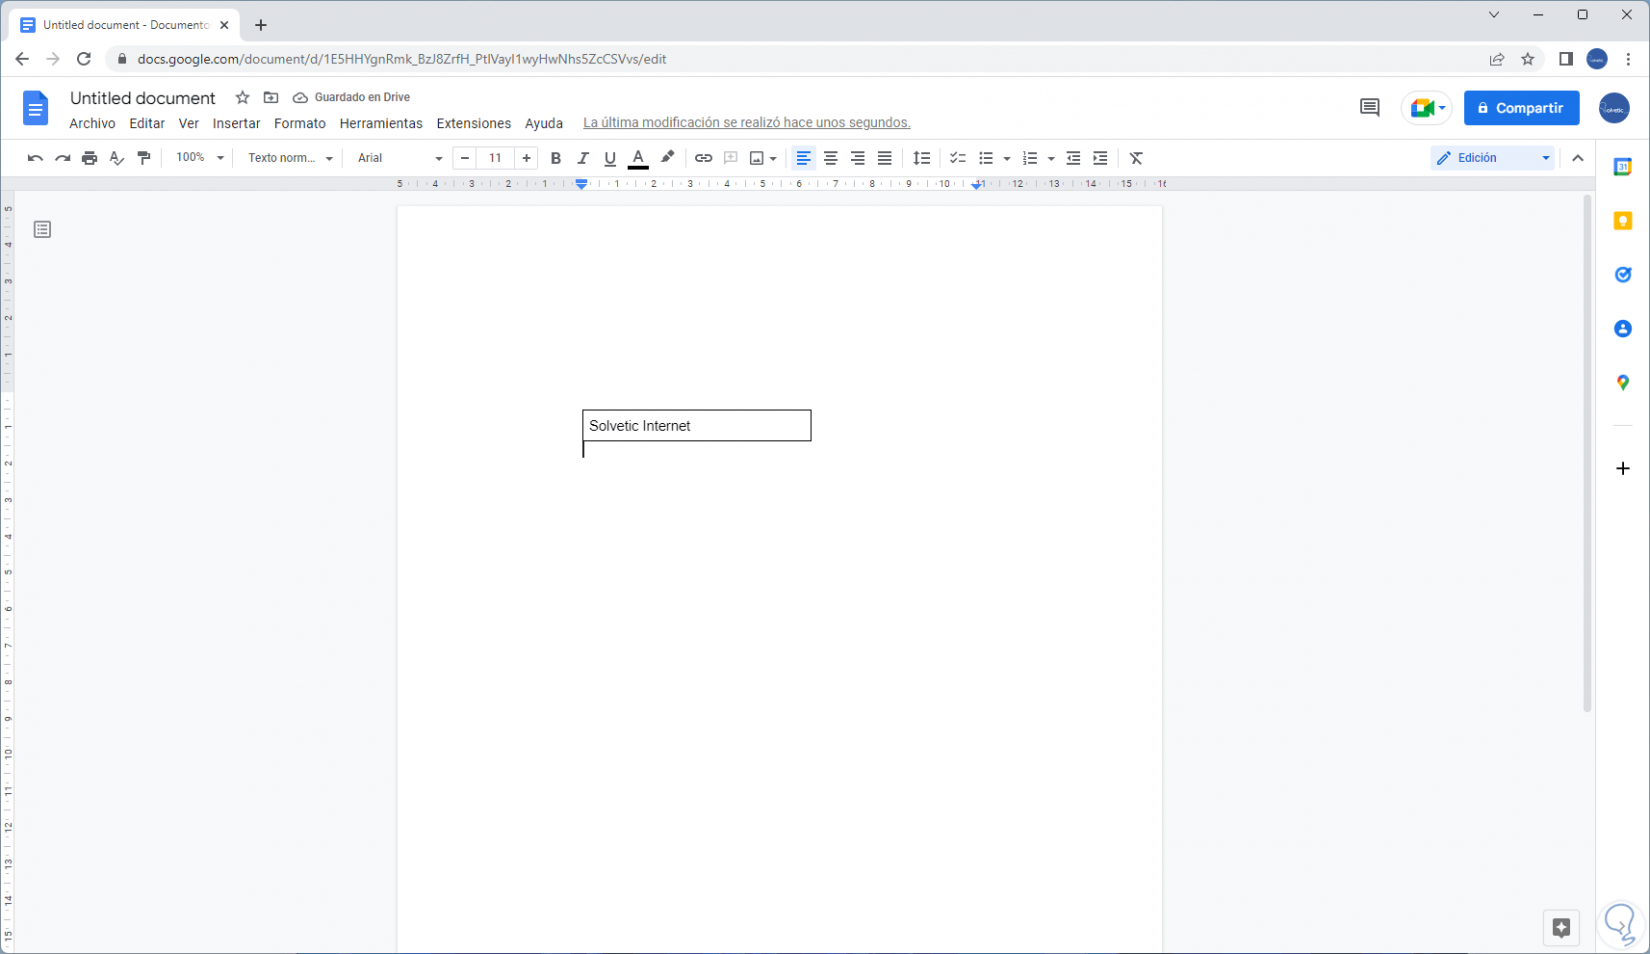
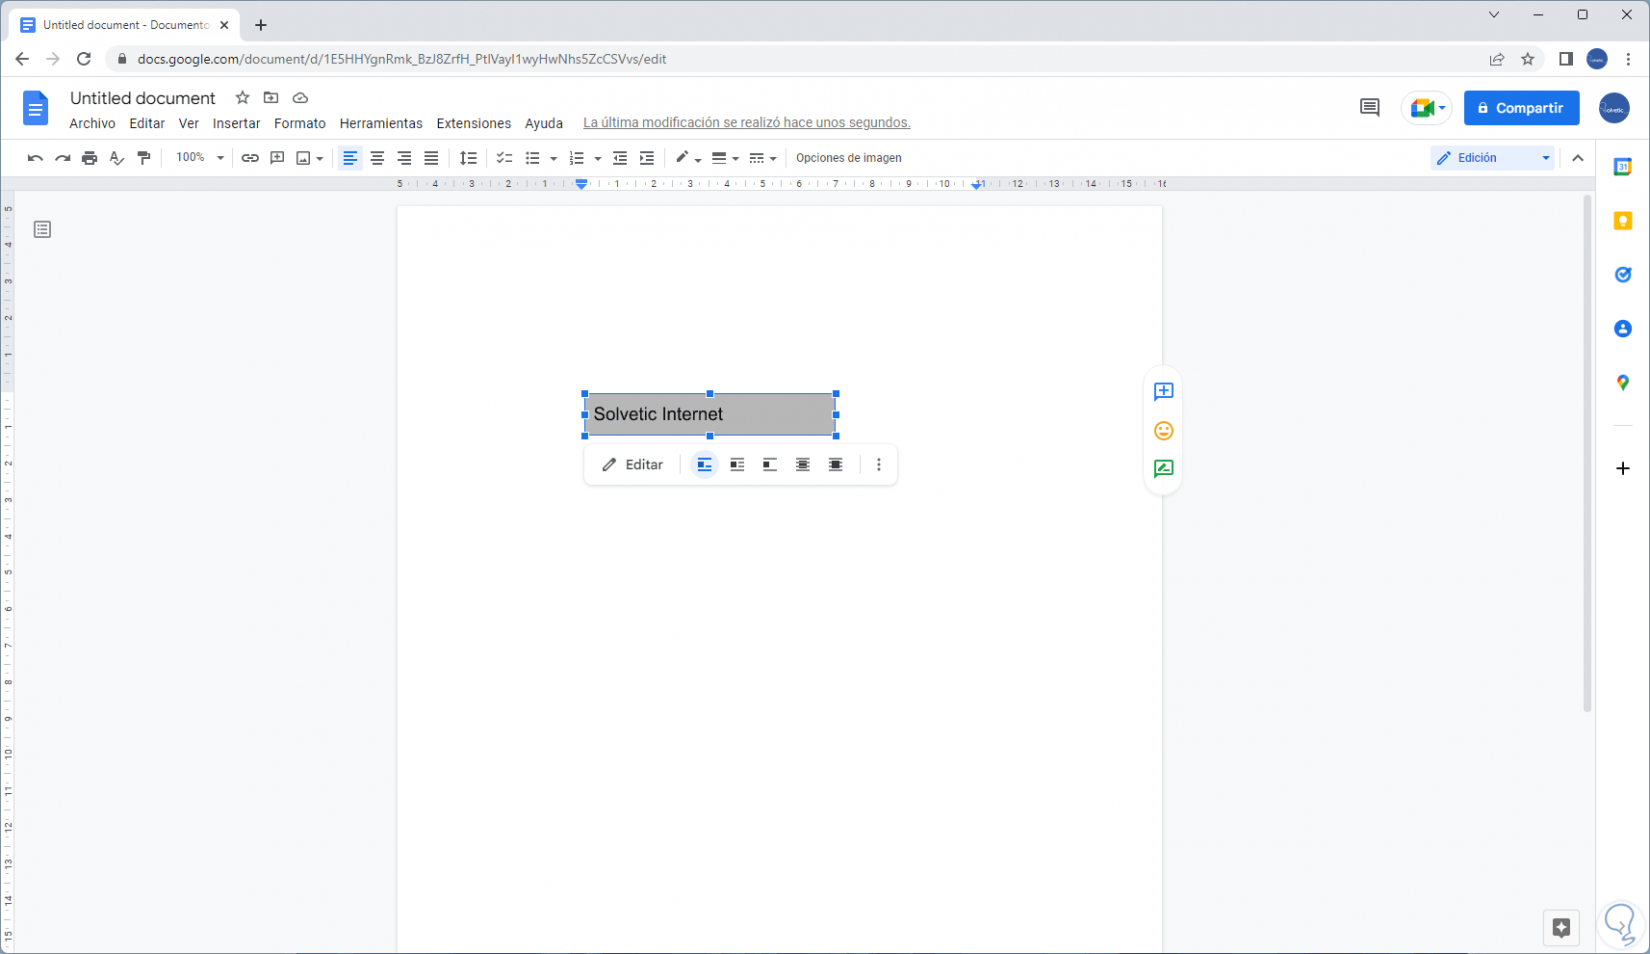
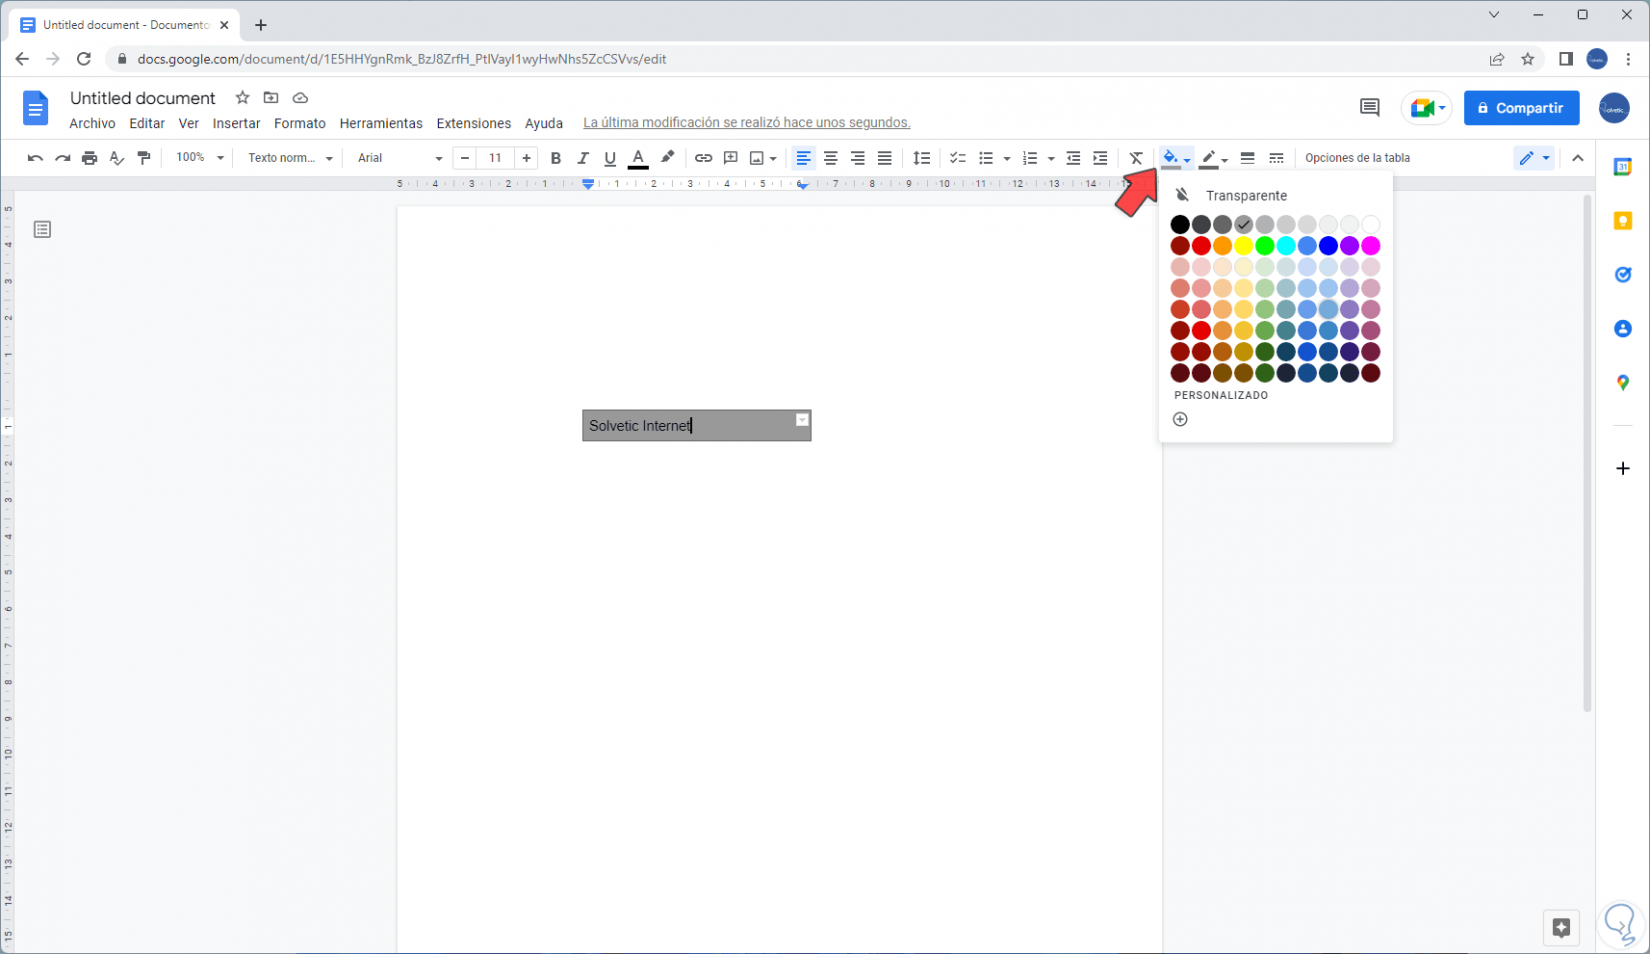
It is possible to adjust the text, design or the border of the table from the available tools:
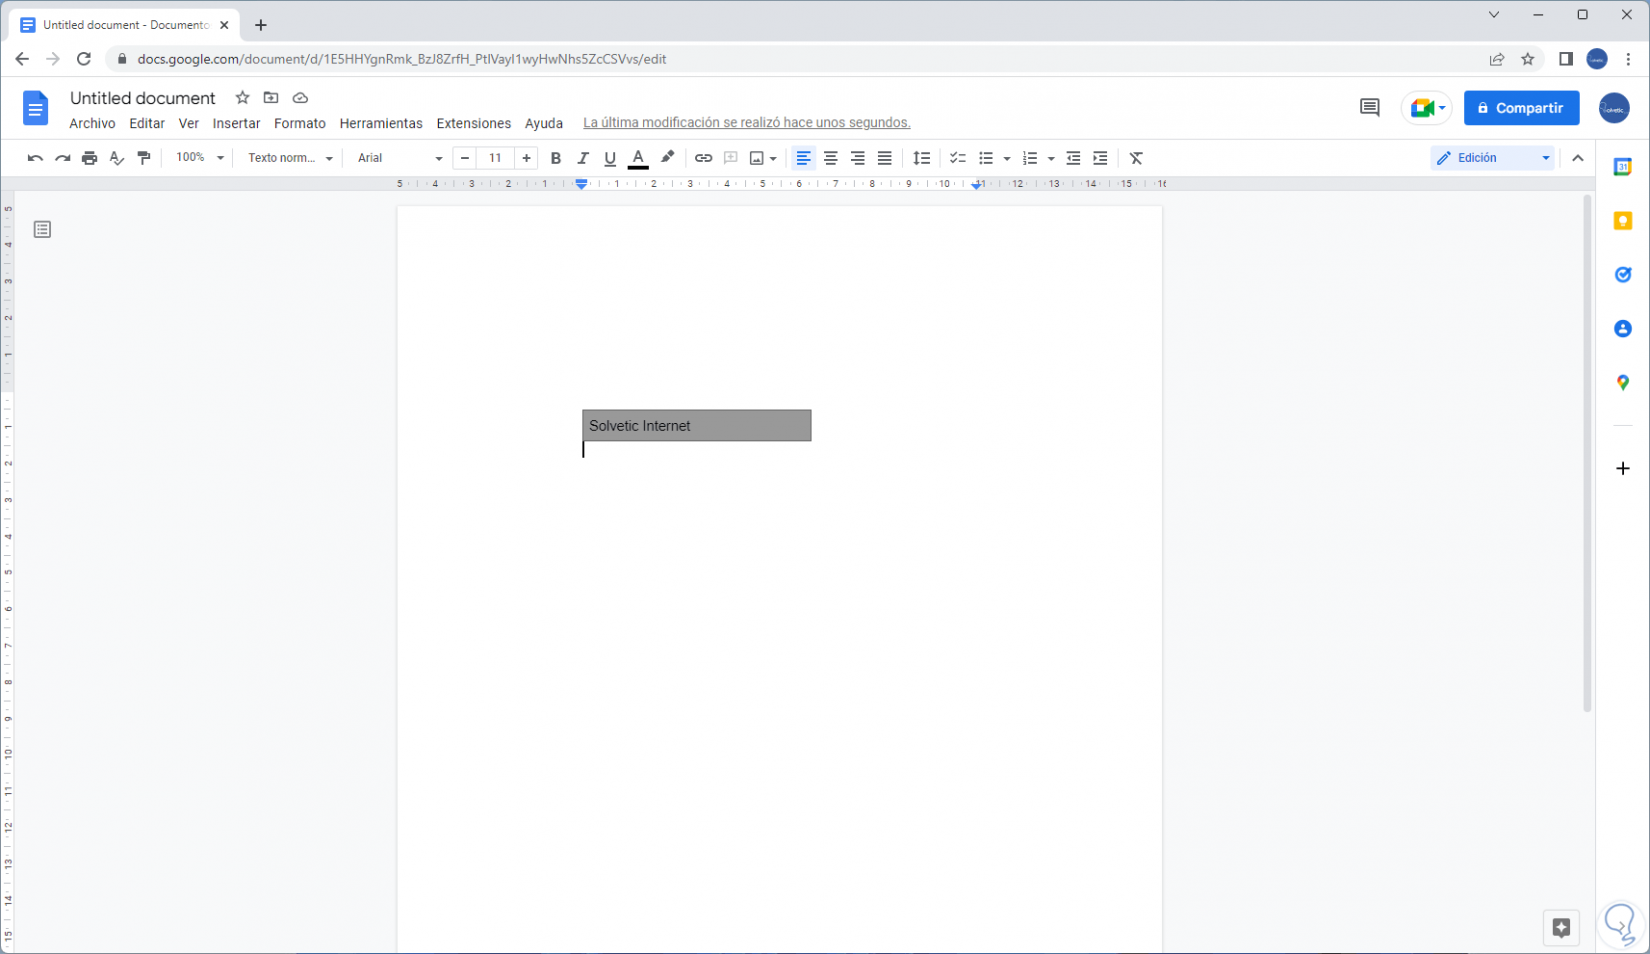
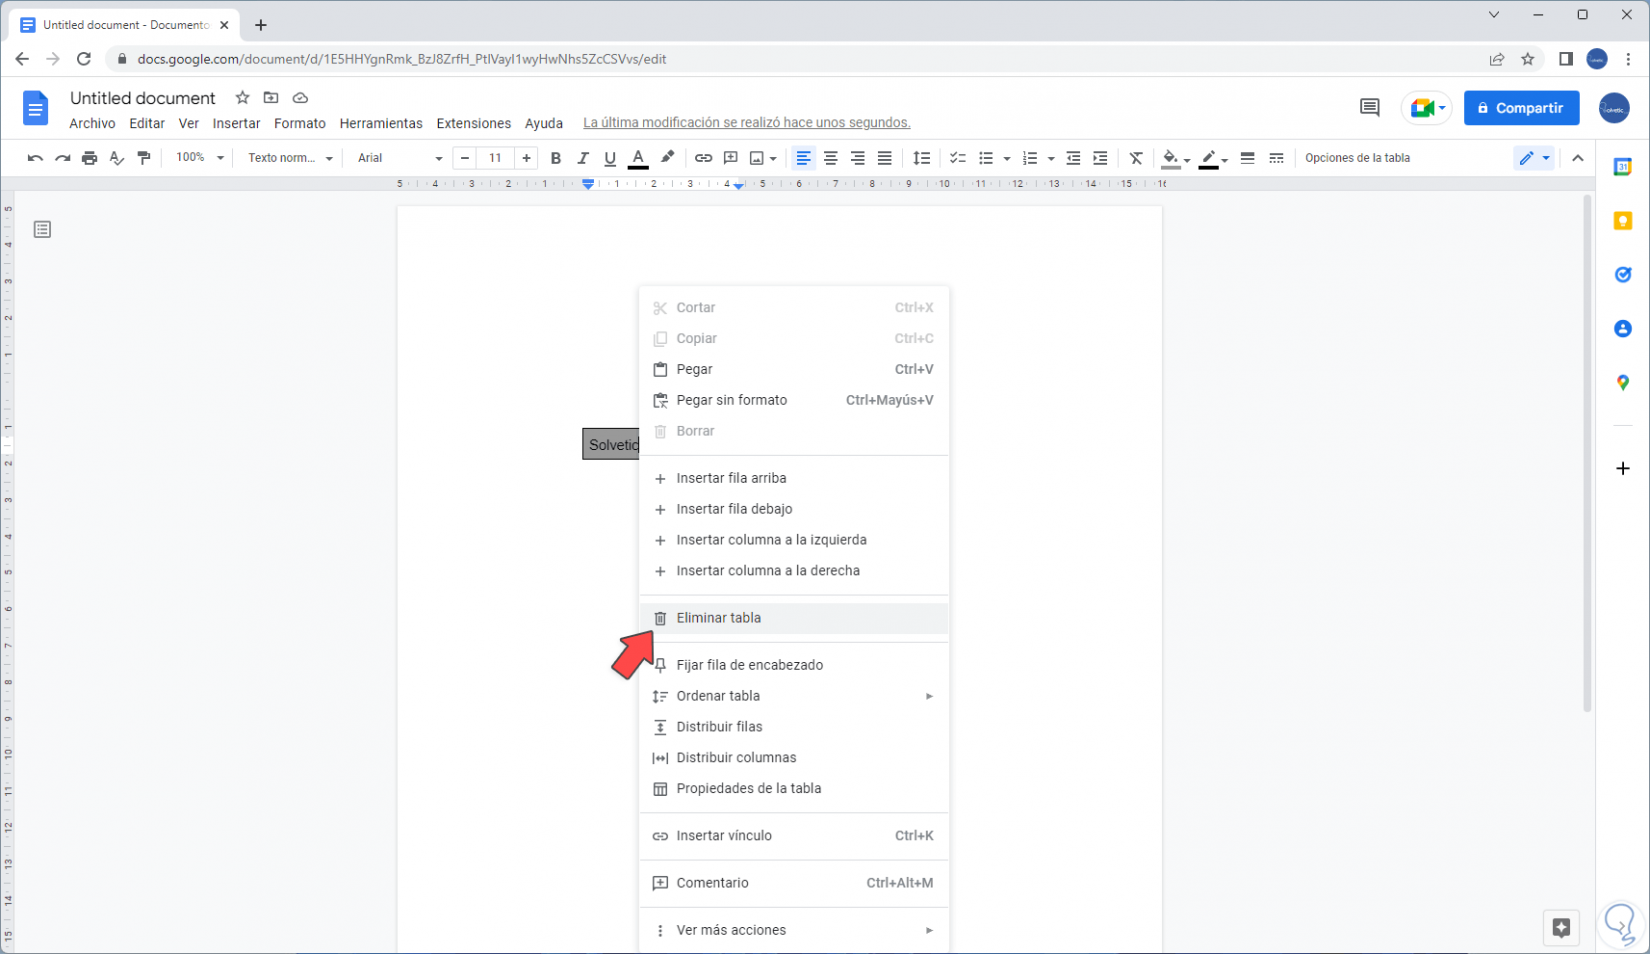
We see each change so that the text box highlights, by right clicking on the table it is possible to adjust certain options:
In this way we have learned how to insert a text box in Google Docs.