The computer does not meet the minimum requirements for Windows 11 – how to fix
Your PC doesn’t meet the minimum requirements for Windows 11… or does it?
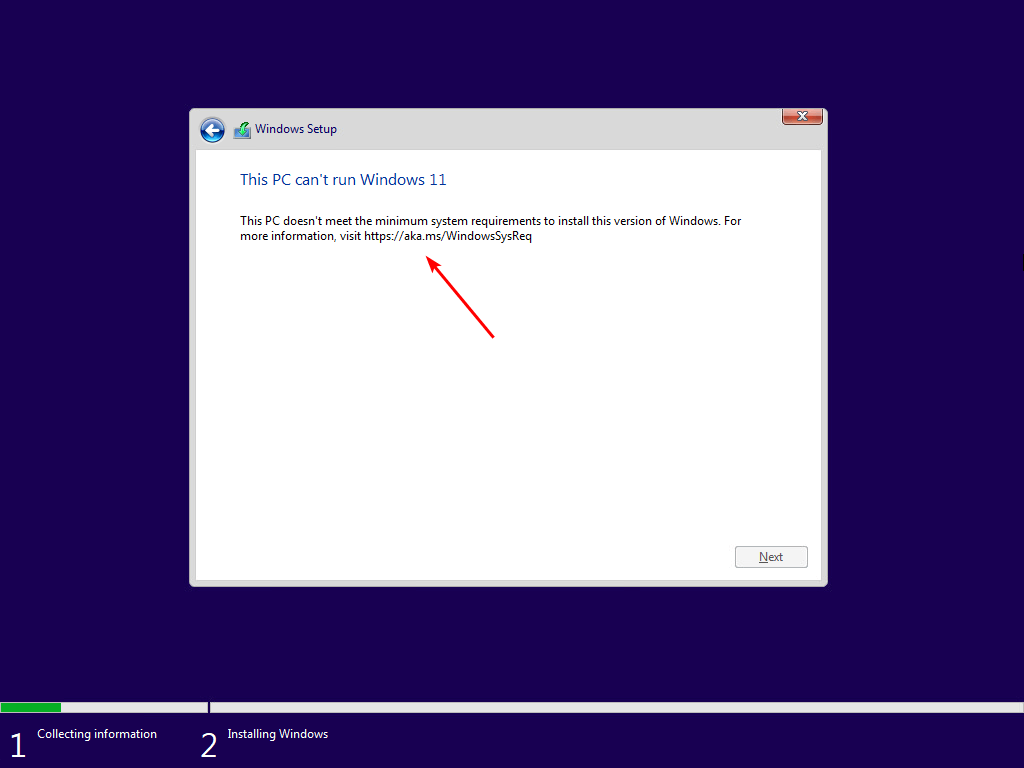
Unfortunately, not every user can install the latest iteration of the operating system from Microsoft on their PC. What’s the matter? Is the installation process complicated? Or has the new Windows grown to the size of today’s Call of Duty games? No, it’s just that users continually experience installation errors, according to which, we quote, “Windows 11 cannot run on this computer [because it] does not meet the minimum requirements.”
Worst of all, this kind of errors appear even before the owners of beast-machines, under the hood of which there is really top-end hardware. So what’s the problem?
Why Windows 11 can’t run on “this” computer

Okay, let’s get straight to the point. As a rule, there are three main reasons behind this problem:
- The user’s PC does indeed not meet the minimum requirements, i.e. outdated CPU, low RAM, lack of space on SSD / HDD, etc.;
- deactivated Secure Boot (secure boot);
- disabled or missing TPM (Trusted Platform Module) version 2.0.
If it comes to that, the second and third reasons are technically the first: Secure Boot and TPM 2.0 are on the list of system requirements. However, for clarity, we decided to put them in separate paragraphs.
Windows 11 minimum system requirements
The system requirements of Windows 11 are slightly higher than the requirements of the “dozens”, but they are still relatively democratic.
- CPU: 2-core with a frequency of 1 GHz and above
- RAM: 4 gigabytes
- Internal memory: 64 gigabytes
- Video card: DirectX 12 support
- Monitor: at least 720p resolution
- Must have TPM 2.0, UEFI and Secure Boot
Does your PC barely meet the requirements of Windows 10? Then it’s no surprise that you’re having trouble installing (or upgrading to) Windows 11. Roughly speaking, the requirements have roughly doubled. It might be wiser to skip the new version of the OS this time around until you have a faster machine, plus support for Windows 10 is still ongoing – there’s no rush.
Secure Boot Activation
Secure Boot (secure boot) – a special security standard; UEFI security protocol that checks the digital signatures of the software involved in booting the device. In theory, SB allows you to restrict the operation of potentially dangerous software on your computer, but in practice this protocol often interferes with the use of your device, preventing it from running software that is not approved by the original equipment manufacturer (OEM).
Many users who surf the Internet under a black flag prefer to turn off secure boot so that it does not interfere, but for Windows 11 to work properly, this protocol must work, period. You can check if SB is working on your PC or not as follows:
- press WIN + R to open the “Run” window;
- paste the value msinfo32.exe into the empty line and press ENTER;
- Scroll down and look for the “Secure Boot Status” line.
Note: If the status bar says “Off”, then your PC definitely supports the SB protocol and needs to be activated. If the status bar says “Not Supported”, it means that your PC hardware does not support the protocol. This can be fixed by switching the BIOS to UEFI mode (if possible, of course).
- restart PC and press F2/F10/Del button to open BIOS;
- go to the boot menu (for example, Boot Menu or Boot Setup);
- find the item with the choice of boot mode (UEFI / BIOS Boot Mode) and select UEFI mode;
- save the changes and restart the PC;
- enter the BIOS again and go to the boot menu;
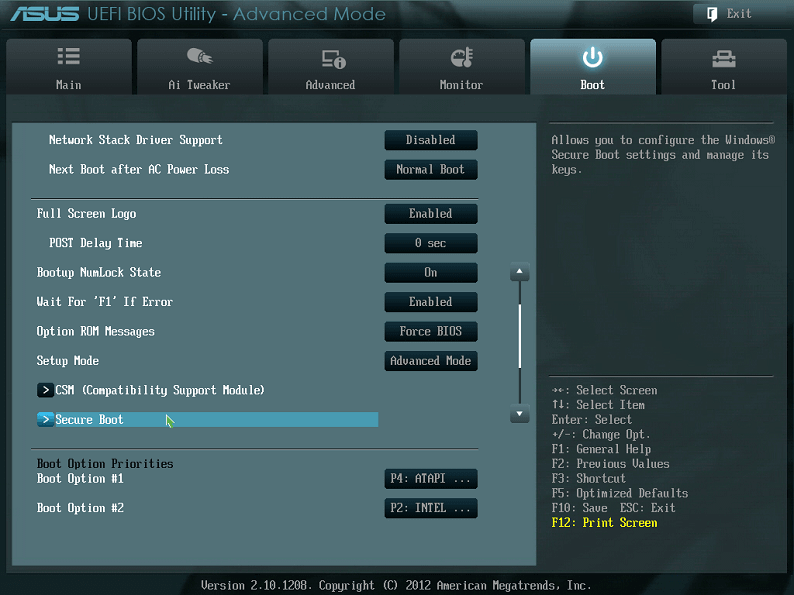
- find the “Secure Boot” option and activate it;
- restart your PC again.

Note: It is important to note that the BIOS of different motherboards differ from each other, and therefore the name of some options and their locations may also differ. For example, on boards from Gigabyte, the Secure Boot section will only appear if the user first deactivates the CSM (Compatibility Mode Launch Support Module). Simply put, you may have to spend some time in the BIOS looking for the right settings. We look at the settings, turn on the logic and use the translator, if there are problems with the English language – this is all that can be advised in this case.
After activating Secure Boot, try installing Windows 11 again.
TPM 2.0 activation
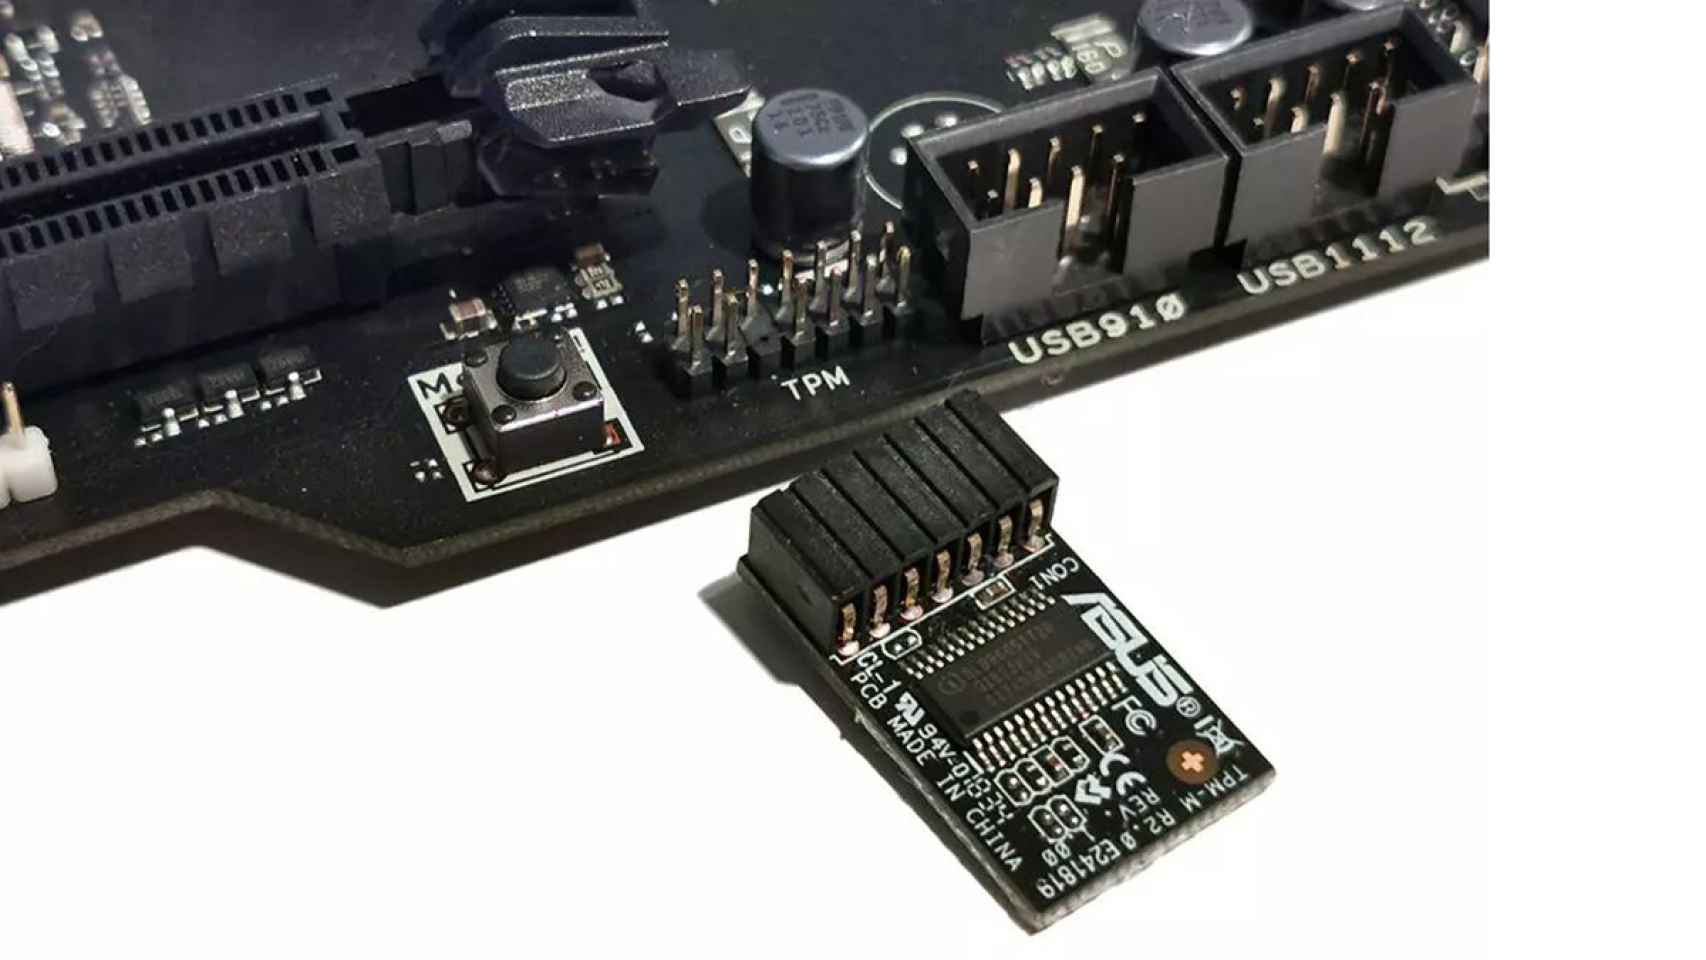
Trusted Platform Module (trusted platform module) – the so-called secure cryptographic processor; a special chip that is added by the manufacturer to the motherboard at the stage of its assembly. Such chips can be removable or soldered directly into the motherboard textolite itself. In addition, there is fTPM (firmware-based TPM) – a similar cryptomodule, but only with software implementation for AMD platforms.

TPM provides additional protection of user data from unauthorized access using advanced encryption methods. Again, in theory, an extremely useful development in the field of computer technology, but it can become an obstacle for users who use the services of licensed software.
Windows 11 requires TPM 2.0 to run. If this cryptomodule is not activated on the user’s computer (or it does not exist at all), then you can forget about the new OS. Checking for the presence of a TPM is done as follows:
- run Command Prompt with administrator rights;
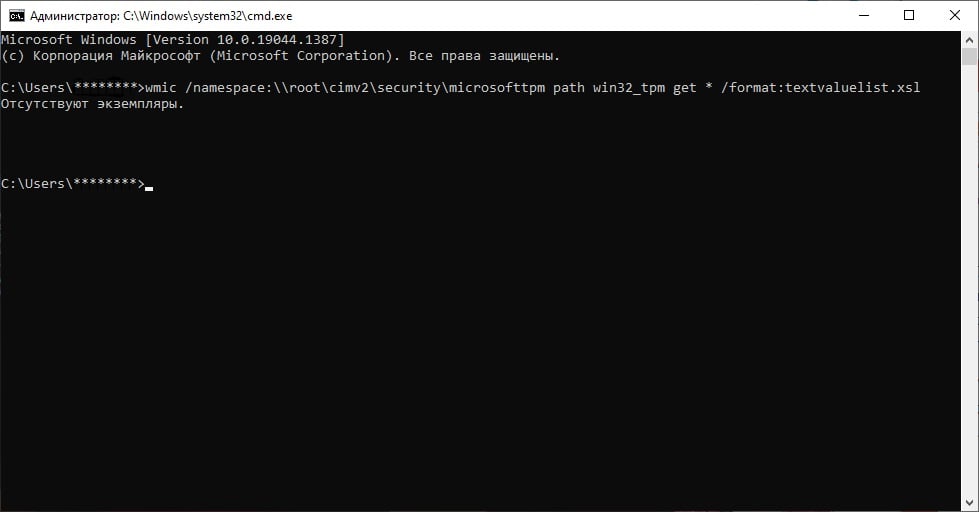
- run the command in the console:
wmic /namespace:\\root\cimv2\security\microsofttpm path win32_tpm get * /format:textvaluelist.xsl

“Missing Instances” – A similar result means that the TPM is either deactivated on your system or it does not exist at all. In the case of the first option, you can try to enable TPM through the BIOS settings.
- Restart PC and press F2/F10/Del button to enter BIOS;
- go to the security section (Security);
- find the line with TPM and activate the module;
- save the BIOS changes and restart your PC.
Note: The name of the TPM settings section may differ from BIOS to BIOS. Look for TPM Device, TPM Security, TPM configuration, Security Chip and other similar variations. The search may take some time, but you will definitely succeed
If you still found the TPM function in the BIOS settings and activated it, run the above command again in order to check the version of the TPM you have. Well, in the future you will find two options for the development of events:
- you are calmly installing Windows 11, since you have TPM 2.0 and it has just been activated;
- you don’t install Windows 11 because you have TPM 1.2 or don’t have TMP.
If your computer does not meet the minimum requirements for Windows 11, you will not be able to install this OS, no matter how much you would like to. There are no workarounds or fancy solutions other than buying a new, more modern PC.