How to fix error 0x800f0806 when updating Windows 11?
Resolving Windows 11 update, how to fix error 0X800F0806 step-by-step solution
Are you facing the frustrating error 0X800F0806 when updating your Windows 11 operating system? This error can block the road to getting the latest features, security updates, and improvements. Fortunately, different steps can be taken to address and fix this issue.
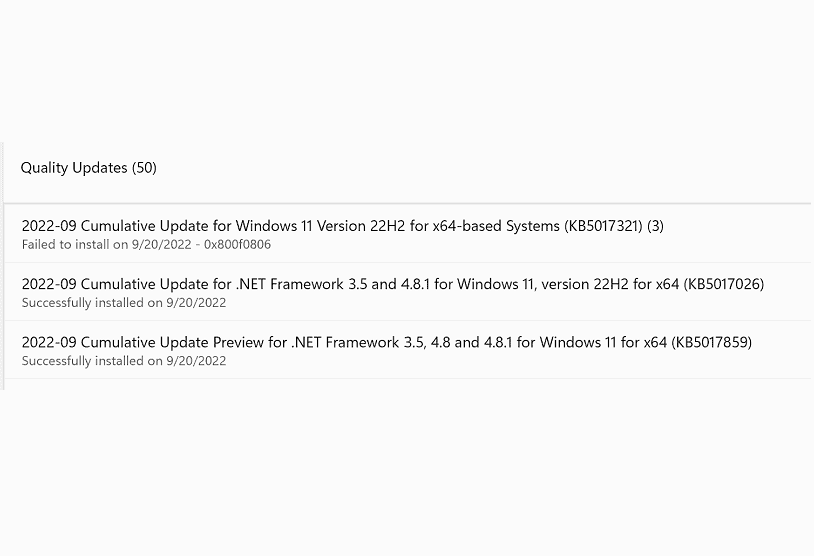
Members of the Windows Insider (WI) program are complaining about the error 0x800f0806 when installing updates for Windows 11. KB5017321 and KB501738 – this code is most often seen with these two cumulative updates. Considering that we are dealing with test versions of the OS, there can be a huge number of reasons for the appearance of this problem.
In connection with the latter, the only thing left for the user is to sort out possible solutions and hope for the best.
Index:
- Solution for error 0x800f0806 in Windows 11
- Solution #1 Install the update manually
- Solution #2 Clearing the SoftwareDistribution folder
- Solution #3 Run SFC and DISM
- Solution #4 Troubleshooter
- Solution #5 Repairing Update Center components
Solution for error 0x800f0806 in Windows 11
Solution #1 Install the update manually
You can completely bypass error 0x800f0806 by installing the problematic update manually. How to do it? Yes, everything is very simple: go to the Microsoft Update catalog , find the required update, download and install it. The installation process is almost automatic – even a green beginner can handle it.
Solution #2 Clearing the SoftwareDistribution folder
Windows Update becomes impossible if the SoftwareDistribution folder contains installation files for other updates that have been corrupted for one reason or another. What to do in this case? Get rid of the contents of the SoftwareDistribution folder. This is done as follows:
- press the combination WIN + R on the keyboard;
- paste in the empty line %systemroot%\SoftwareDistribution\Download and press ENTER;
- delete from the folder all the data that is in it;
- restart your PC.
After clearing the SoftwareDistribution folder, the Windows 11 update should run smoothly and error 0x800f0806 should disappear.
Solution #3 Run SFC and DISM
Corruption of system files or the Windows image as a whole can lead to errors during the update. And no, reinstalling the OS is not the only solution in this case. Damage can always be “patched” by using SFC and DISM. The first utility is responsible for restoring damaged system files, the second is for restoring the system image. Here’s how to use them:
- press WIN + X and select “PowerShell (administrator)” from the list;
- paste the sfc /scannow command into the console and press ENTER;
- read the results of the SFC and restart the PC;
- open PowerShell again (as admin!) and execute the following commands in the console one by one:
- DISM /Online /Cleanup-Image /CheckHealth
- DISM /Online /Cleanup-Image /ScanHealth
- DISM /Online /Cleanup-Image /RestoreHealth
- after working with DISM, restart your PC again.
SFC and DISM will let you know if they were able to find the damage and repair it.

Solution #4 Troubleshooter
Another option to resolve error 0x800f0806 is to run the troubleshooter. Unlike older versions of the OS, this tool is already in Windows 11, so you don’t need to download it. To run the tool, you need to do the following:
- click on Start RMB and select “Settings”;
- go to the “System” section, then to the “Troubleshooting” subsection;
- then select “Other troubleshooting tools”;
- in the “Most common” section, select “Windows Update”, then click on the “Run” button;
- After using the tool, restart your PC.
It is important to note that the troubleshooter is not a lifesaver. Maybe it will help, maybe it won’t. It all depends on the reasons that caused the problem.
Solution #5 Repairing Update Center components
And the last thing you can try is to restore the Update Center components to their original state, because. these same components could be damaged. It sounds like a task that is too tough for ordinary users, but it is absolutely not. Just follow the steps below and you will be fine.
- right-click on Start (or WIN+X) and select “PowerShell (administrator)”;
- run the following commands in the console one by one:
- net stop bits
- net stop wuauserver
- net stop appidsvc
- net stop cryptsvc
- then paste the command Del “%ALLUSERSPROFILE%\Application Data\Microsoft\Network\Downloader\*.*” and press ENTER;
- press the Y key to confirm deletion of the qmgr*.dat files;
- The following two commands will clear the Update cache so that Windows 11 can download new updates:
- rmdir %systemroot%\SoftwareDistribution /S /Q
- rmdir %systemroot%\system32\catroot2 /S /Q
- Next, you need to reset the security descriptors of the BITS and Updater services:
- sc.exe sdset bits D:(A;;CCLCSWRPWPDTLOCRRC;;;SY)(A;;CCDCLCSWRPWPDTLOCRSDRCWDWO;;;BA)(A;;CCLCSWLOCRRC;;;AU)(A;;CCLCSWRPWPDTLOCRRC;;;PU)
- sc.exe sdset wuauserv D:(A;;CCLCSWRPWPDTLOCRRC;;;SY)(A;;CCDCLCSWRPWPDTLOCRSDRCWDWO;;;BA)(A;;CCLCSWLOCRRC;;;AU)(A;;CCLCSWRPWPDTLOCRRC;;;PU)
- To go to the System32 folder, you need to run the command:
- cd /d %windir%\system32
- Now you need to re-register the DLL files that are directly related to the BITS and Update Center services:
- regsvr32.exe /s atl.dll
regsvr32.exe /s urlmon.dll
regsvr32.exe /s mshtml.dll
regsvr32.exe /s shdocvw.dll
regsvr32.exe /s browseui.dll
regsvr32.exe /s jscript.dll
regsvr32. exe /s vbscript.dll
regsvr32.exe /s scrrun.dll
regsvr32.exe /s msxml.dll
regsvr32.exe /s msxml3.dll
regsvr32.exe /s msxml6.dll
regsvr32.exe /s actxprxy.dll
regsvr32.exe / s softpub.dll
regsvr32.exe /s wintrust.dll
regsvr32.exe /s dssenh.dll
regsvr32.exe /s rsaenh.dll
regsvr32.exe /s gpkcsp.dll
regsvr32.exe /s sccbase.dll
regsvr32.exe /s slbcsp .dll
regsvr32.exe /s cryptdlg.dll
regsvr32.exe /s oleaut32.dll
regsvr32.exe /s ole32.dll
regsvr32.exe /s shell32.dll
regsvr32.exe /s initpki.dll
regsvr32.exe /s wuapi.dll
regsvr32.exe /s wuaueng.dll
regsvr32.exe /s wuaueng1.dll
regsvr32. exe /s wucltui.dll
regsvr32.exe /s wups.dll
regsvr32.exe /s wups2.dll
regsvr32.exe /s wuweb.dll
regsvr32.exe /s qmgr.dll
regsvr32.exe /s qmgrprxy.dll
regsvr32.exe / s wucltux.dll
regsvr32.exe /s muweb.dll
regsvr32.exe /s wuwebv.dll
- regsvr32.exe /s atl.dll
- The following commands will reset network settings, which may be part of the problem:
- netsh winsock reset
- netsh winsock reset proxy
- enable the services disabled in the first paragraph:
- net start bits
- net start wuauserver
- net start appidsvc
- net start cryptsvc
- restart your PC.
Update Center components restored. Check if error 0x800f0806 is gone.
FAQ’s
How do I fix Windows 11 update error 0X800F0806?
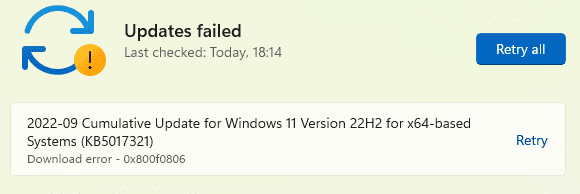
Firstly, install Windows 11 KB5017321. If you say that automatic download is not successful and you encounter download error 0X800F0806, You should try to download manually and install the update. Go to the Microsoft update catalogue directly so that it can update manually.
How do I fix error 0X800F081F?
Restart the Windows Update service and run the Windows Update troubleshooter. Install the pending updates manually and restart the Windows Update service. You can also change the group policy settings.
How do I fix the Windows 11 update download error?
First of all, select Start, then Settings, then System, then Troubleshoot, and then Other Troubleshooters. After that, choose Windows Update, and if you see that the troubleshooter is finished running, restarting your device is a good idea.